


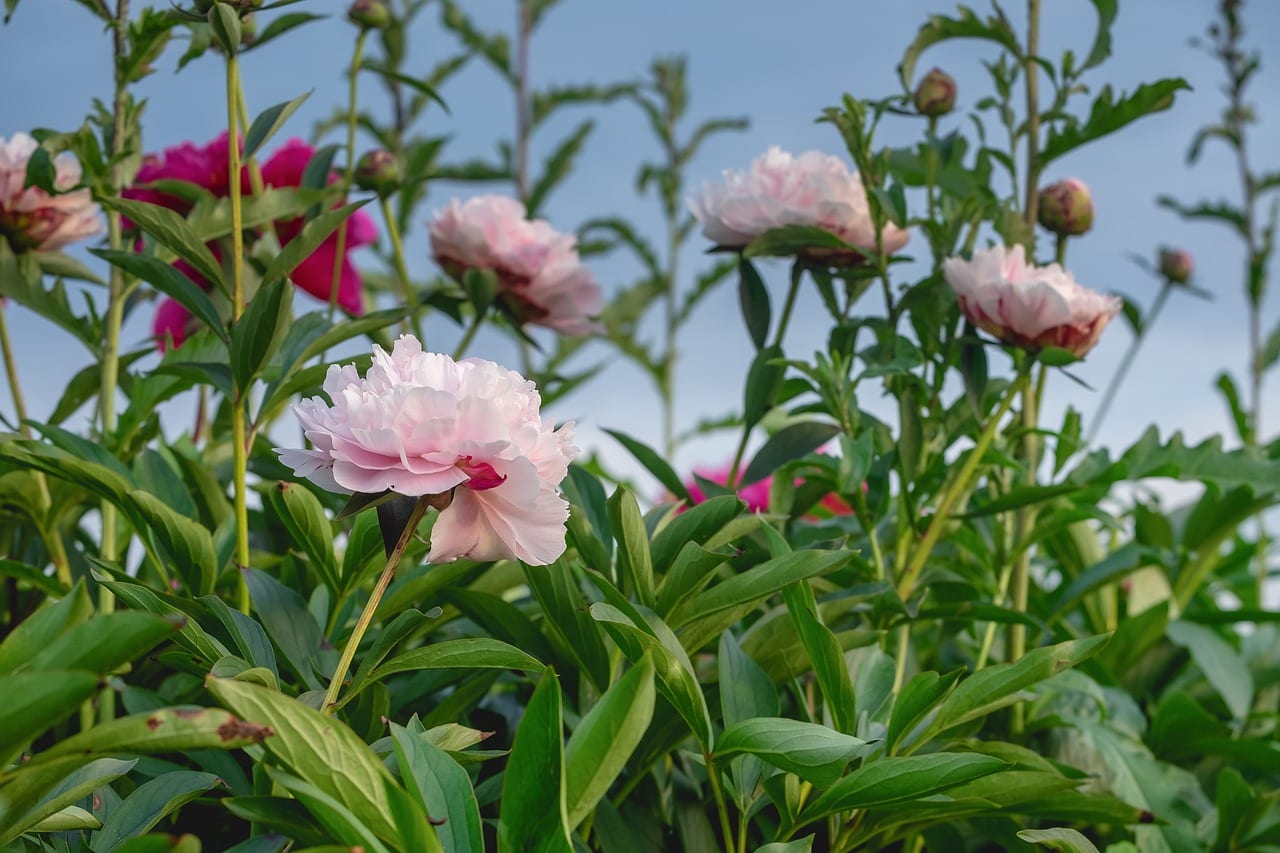
Perennials - the starlets of our garden
Perennials – the starlets of our garden
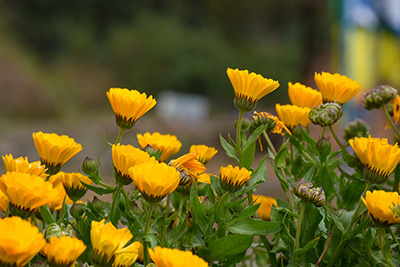
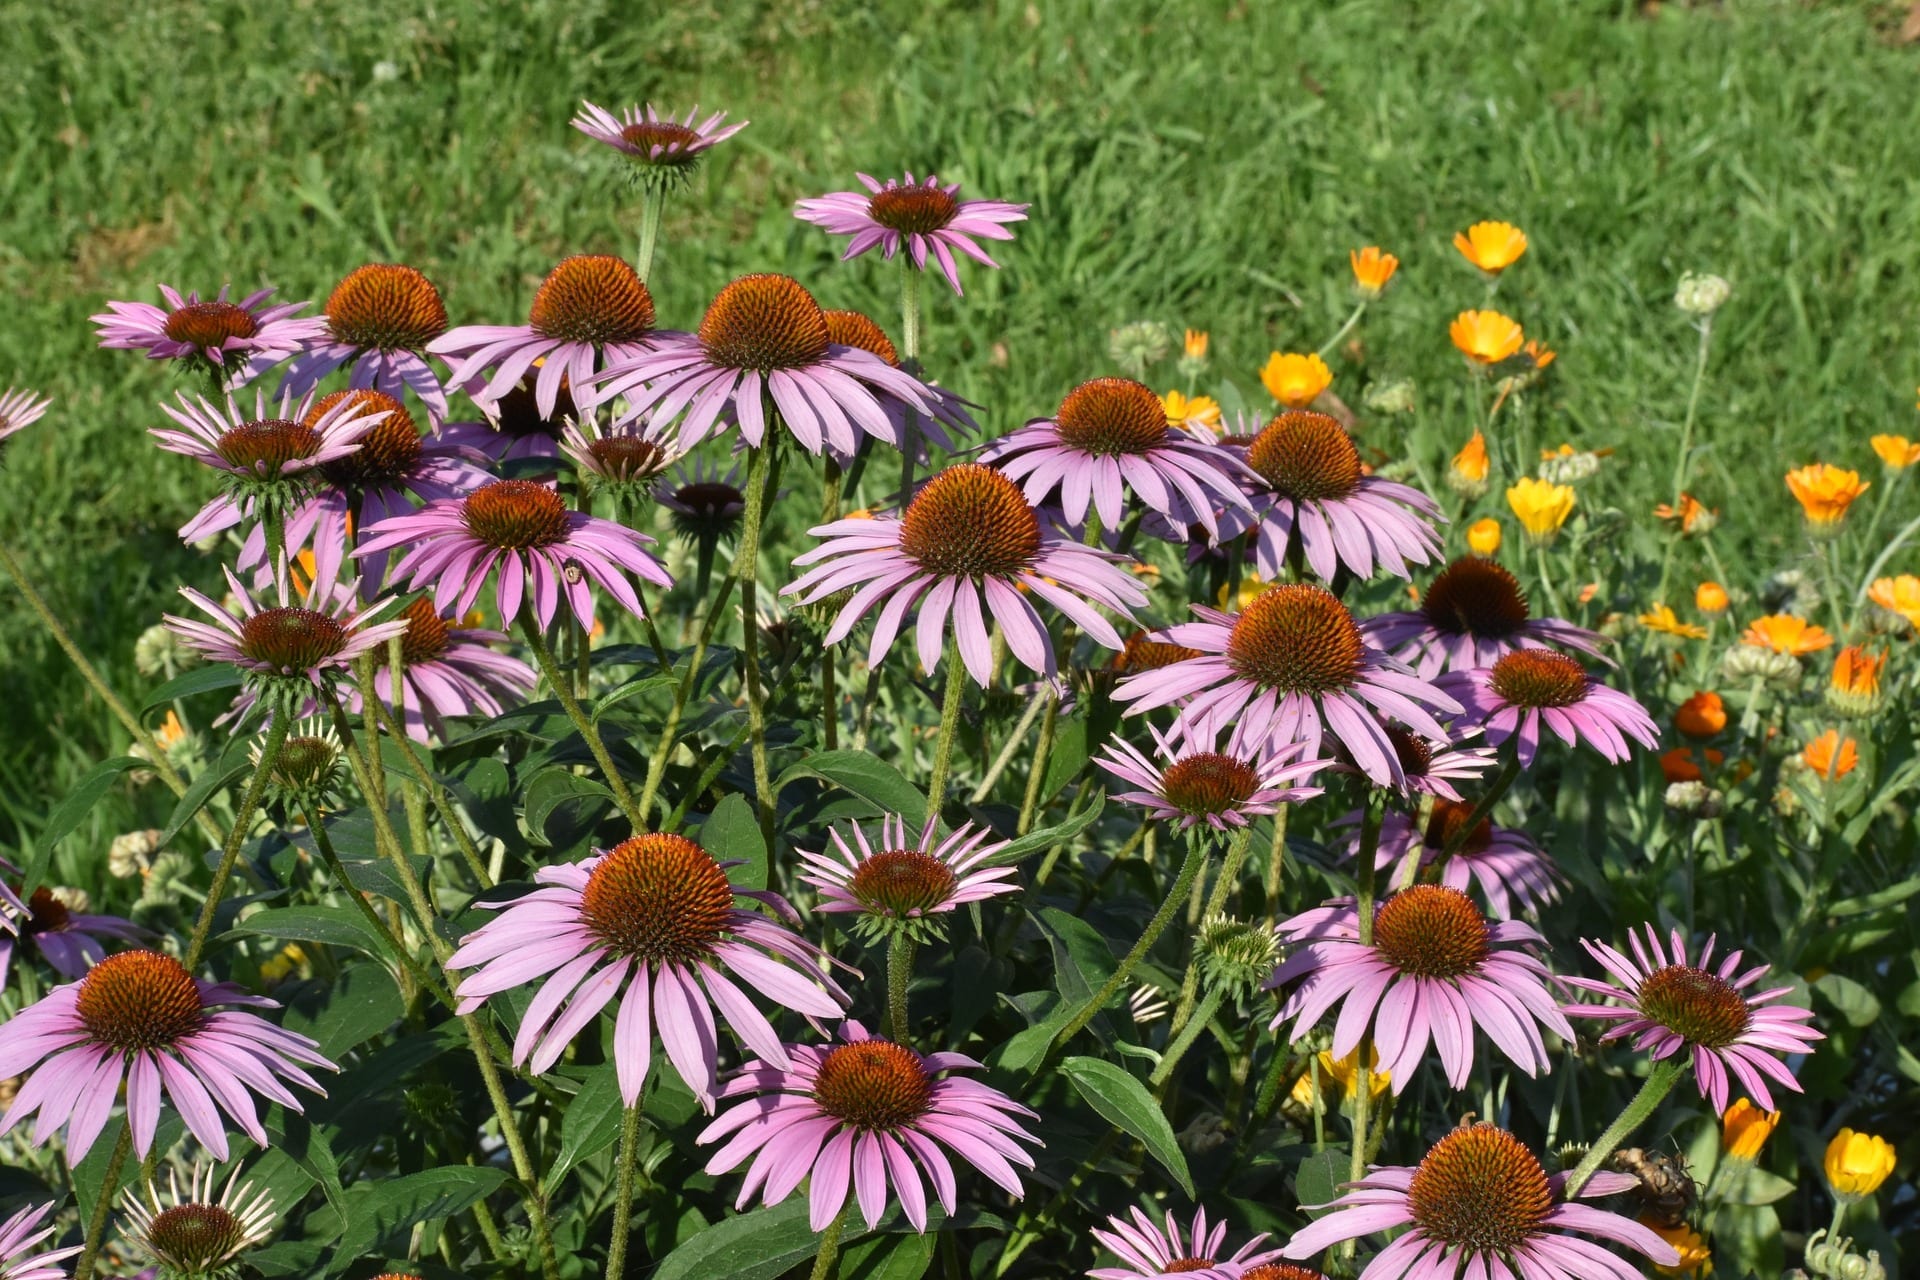
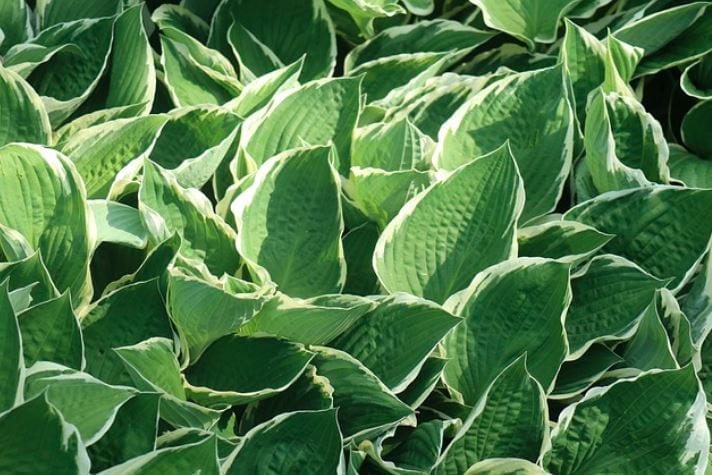
Perennials are the eye catchers or «starlets» of any garden. Well appreciated for their magnificent blooms that will embellish, year after year, alleys, borders or beds. Requiring little maintenance they sure are any gardeners’ favorites.
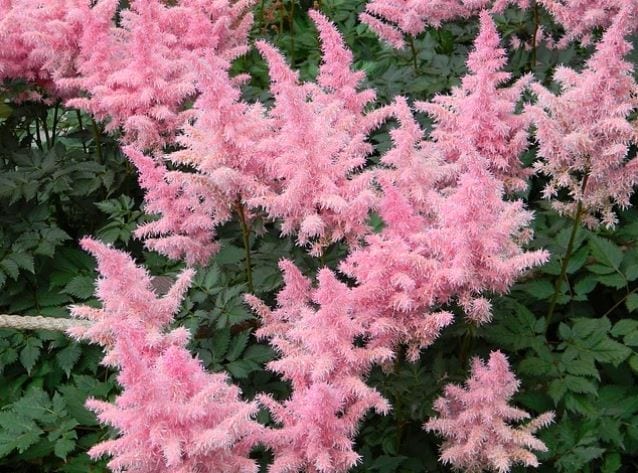
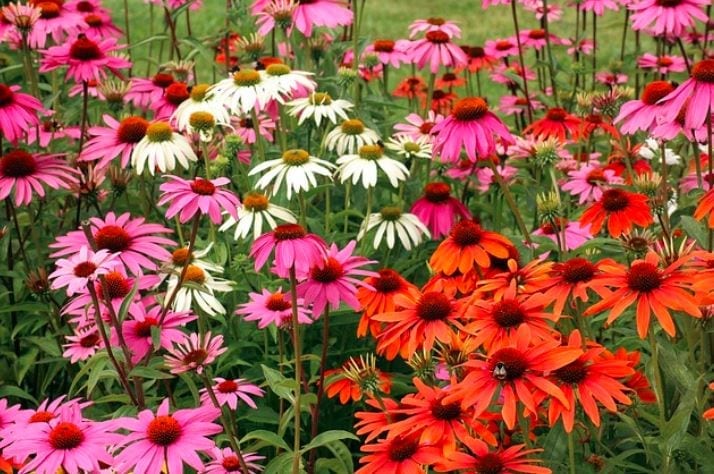
You will find a large selection for every corner of the garden and for all types of soil: Grasses, climbing, rosebush, lavenders, daisies, and thousands more.
Certain perennials will display splendid blooms other spectacular ornamental foliage, surprising fruits, or incredible autumn coloured leaves. Certain selections have many of these characteristics all in one.
Advice and Tips
Before making a final choice, consider the following.
Daily intensity of light
- Full sun: more than 6 hours
- semi-shade: 4 to 6 hours
- shade: 2 to 4 hours
Water requirements.
- Fertilizer needs.
- Soil type: in most cases, the soil can be adapted to the plant’s need.
- Development type (height, spreading, solitary patch, beds, etc.).
- Hardiness zone.
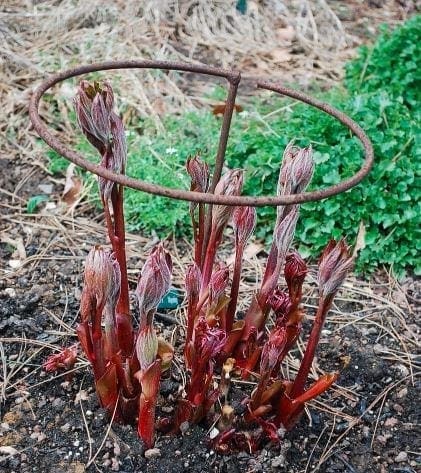
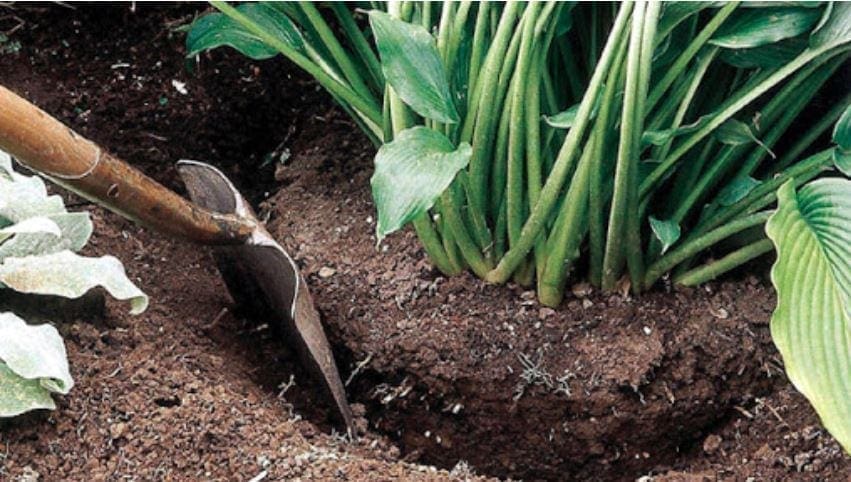
Planting Technique
![]()
- Perennials in containers, bought at garden centers, can be transplanted from thaw to frost (May to September). Avoid planting on very hot days.
- If you cannot transplant right after purchasing your plants, keep them in a shaded area protected from wind and water every day.
- Perennials with naked roots can be transplanted during the dormant periods, early spring or in autumn.
- Wait until a cloudy and cool day to reduce any stress caused by planting.
- Work or turn soil approximately 45 to 60 cm in depth, mix well and add fertilizers and soil amendments.
- Remove weeds.
- Dig a whole the same length as the height of the container. The plant’s collar should find itself exactly at the same level as when in the container. Make sure the hole is large enough to take on all the roots.
- Check the collar’s level and compact the soil with your hands.
- Add soil amendments (compost, peat moss, manure) on the first 10 to 15 cm of soil. In a clay soil, add a coarse compost (forest compost) to aerate and avoid soil compaction.
- Apply a biostimulant: mycorrhizae fungi.
- Remove the plant from the container by holding it by its collar taking care not to break the root ball. If needed, trim the swirled roots to ensure the plant’s good development and water.
- Verify your plant’s behavior after transplant and do not hesitate to change its location if need be.
Maintenance and Trimming
- Make a good hand weeding.
- Alternate between hoeing and spraying during the vegetation period.
- Add a good nitrogen fertilizer in spring and early summer.
- Stake the highest perennial species.
- Cut the flowerless scapes. You often will get a second blooming period.
- At the end of autumn or early spring, cut the plants about 10 to 20 cm above the ground.
- In colder areas, the perennials should be mulched before the first frosts.
Dividing/Separating Perennials
Certain perennials will grow by making new stems starting from their underground parts. They sprawl making clumpy tufts that will perish. In certain cases, the centre will die. They will, therefore, produce less vigorous and smaller blooms more vulnerable to disease and insects.
To rejuvenate the plant, you can simply divide it, taking care of replanting only the healthy parts. Most can be divided at the end of the blooming period (early June).
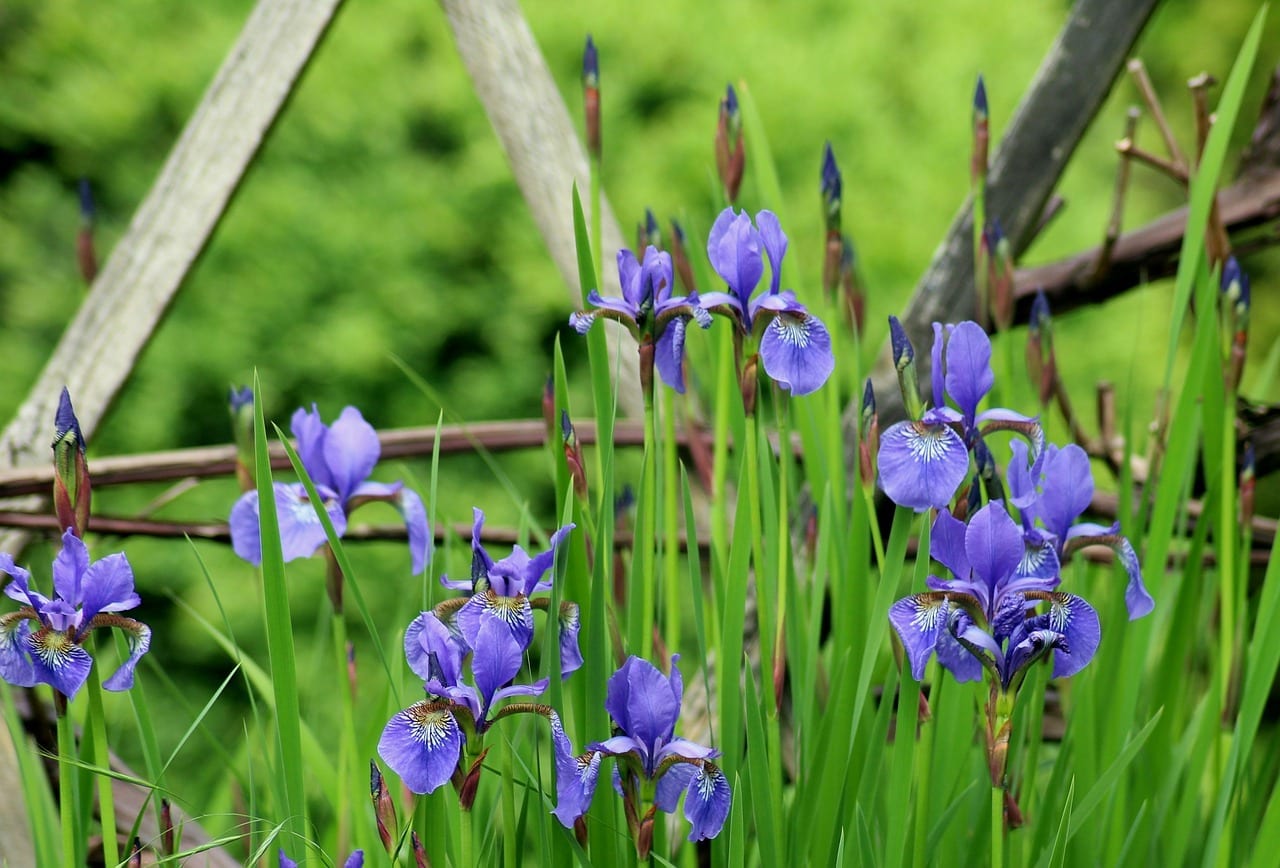
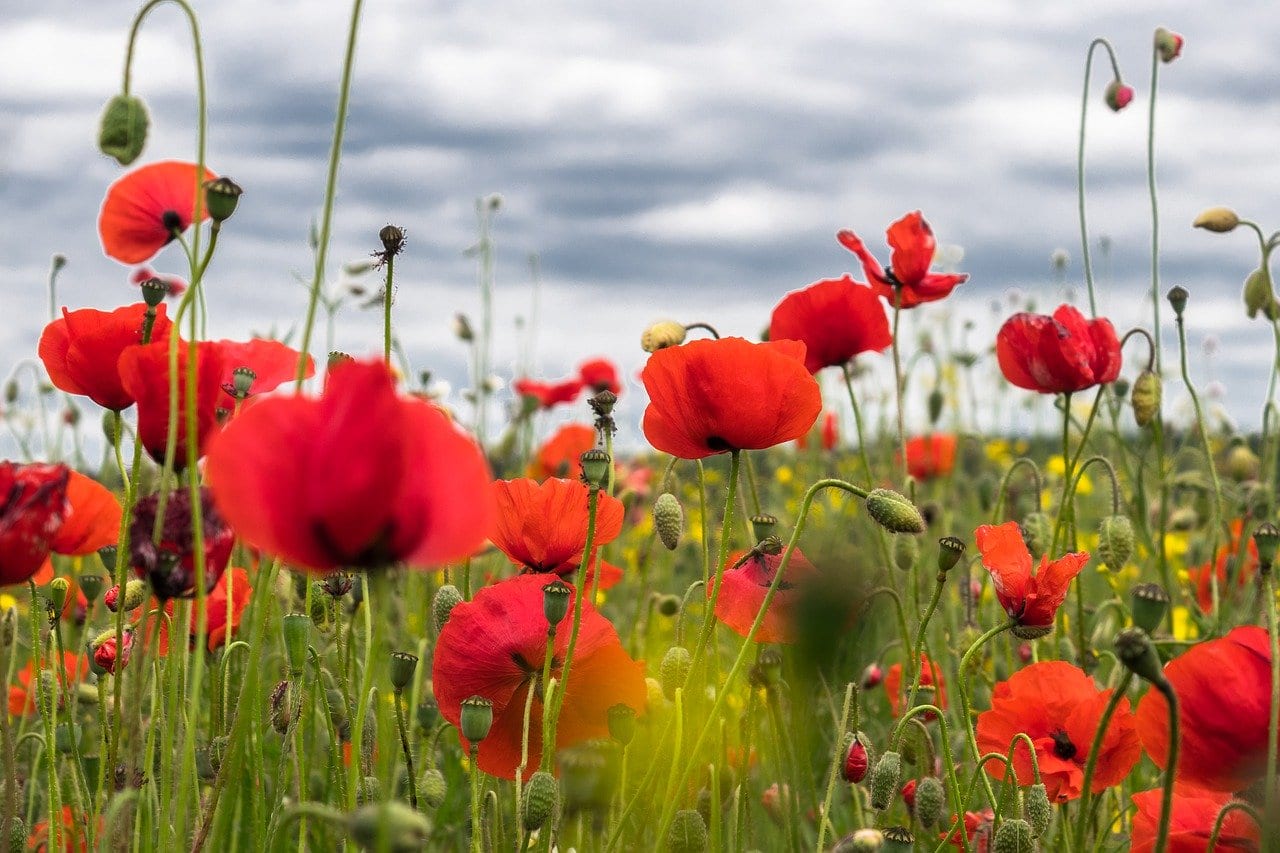
Be careful for these exceptions. The Irises will be divided in July, peonies, and poppies at the end of August.
Plant that flowers after mid-June and early September: early spring (late April, early May).
It is preferable to proceed with dividing the plants in a shaded area or on a cloudy day to not expose the roots to sun rays.
Rhizomes and tubers – Irises, Peonies and Poppies
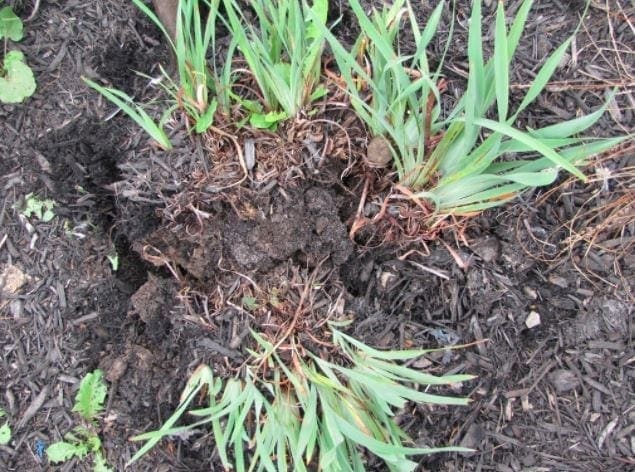
- Cut the foliage by half.
- Using a spade, remove the plant taking care of keeping the maximum of the roots.
- Cut the rhizomes in many sections using a sharp knife. Keep at least one tuft of leaves per section. Throw out the damaged or rotten sections.
- For the rhizomes to grow in all directions, do not place them all facing the same direction. Certain leave tufts must point out towards the exterior, others toward the inside.
- Plant rhizomes horizontally, slightly buried under the surface of the ground. The connecting point between the rhizome and the leave tuft (the collar) must not be buried. Finish filling with soil and make a ridge around the root ball to direct water towards the roots and water generously.
Perennials with Fibrous Roots
Using a spade, remove the plant keeping the root ball.
- Divide the ball in many parts using a sharp tool such as clippers.
- Plant the healthy sections taking care not to bury the collar (junction point between the roots and the stem).
- Fill with soil and making a ridge around the root ball to direct the water towards the roots and water generously.


