


Garden in your kitchen
Growing fresh microgreens and sprouts is accessible to everyone, with very little effort. It brings a sense of satisfaction and provides delicious and healthy foods in the short period of time.
They are excellent to garnish all your salads, sandwiches, soups, sautéed vegetables and even more.
The Trick? – Start Small
Before starting, it is important to distinguish between sprouts and shoots. To find your way around, here is the difference.
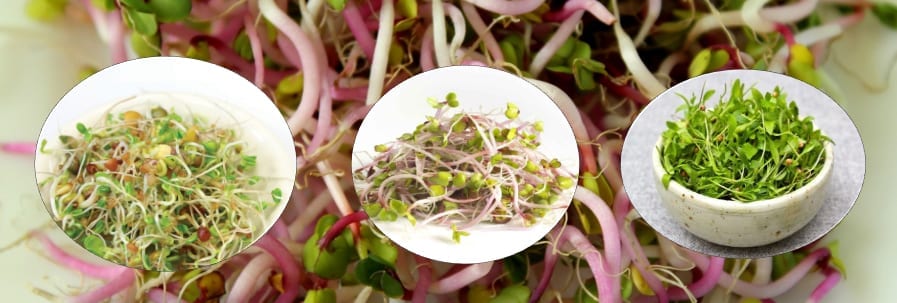
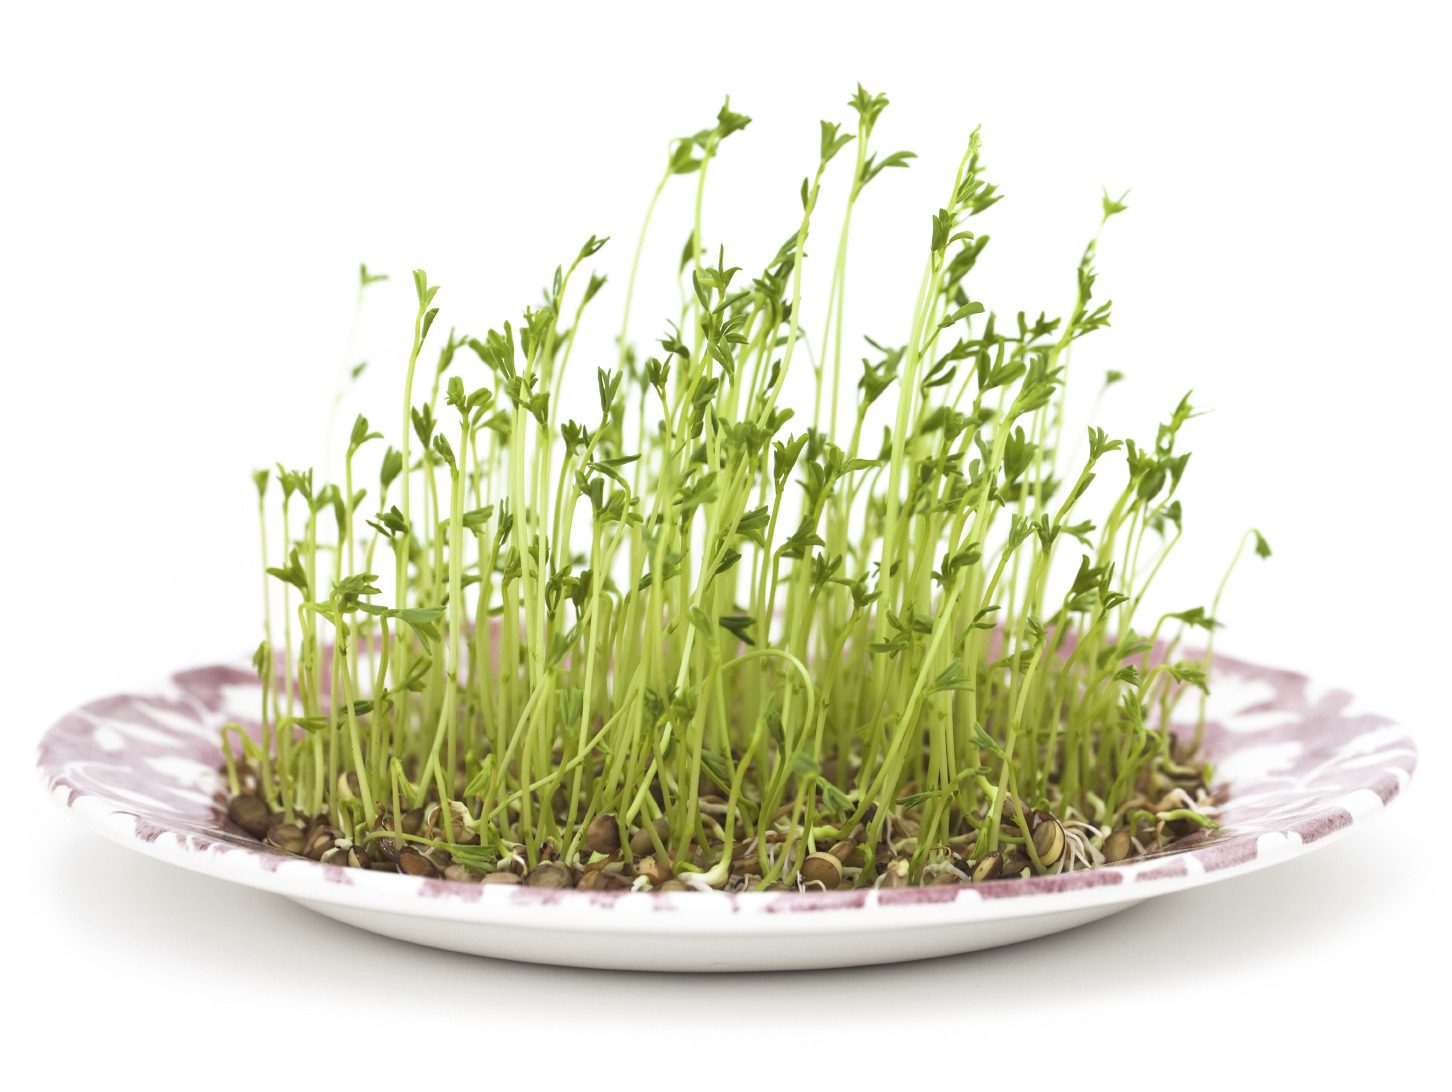
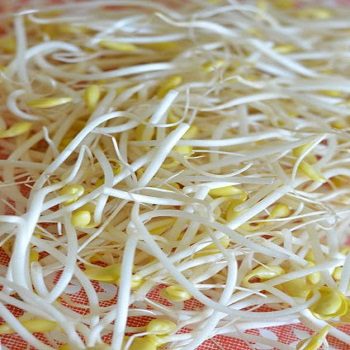
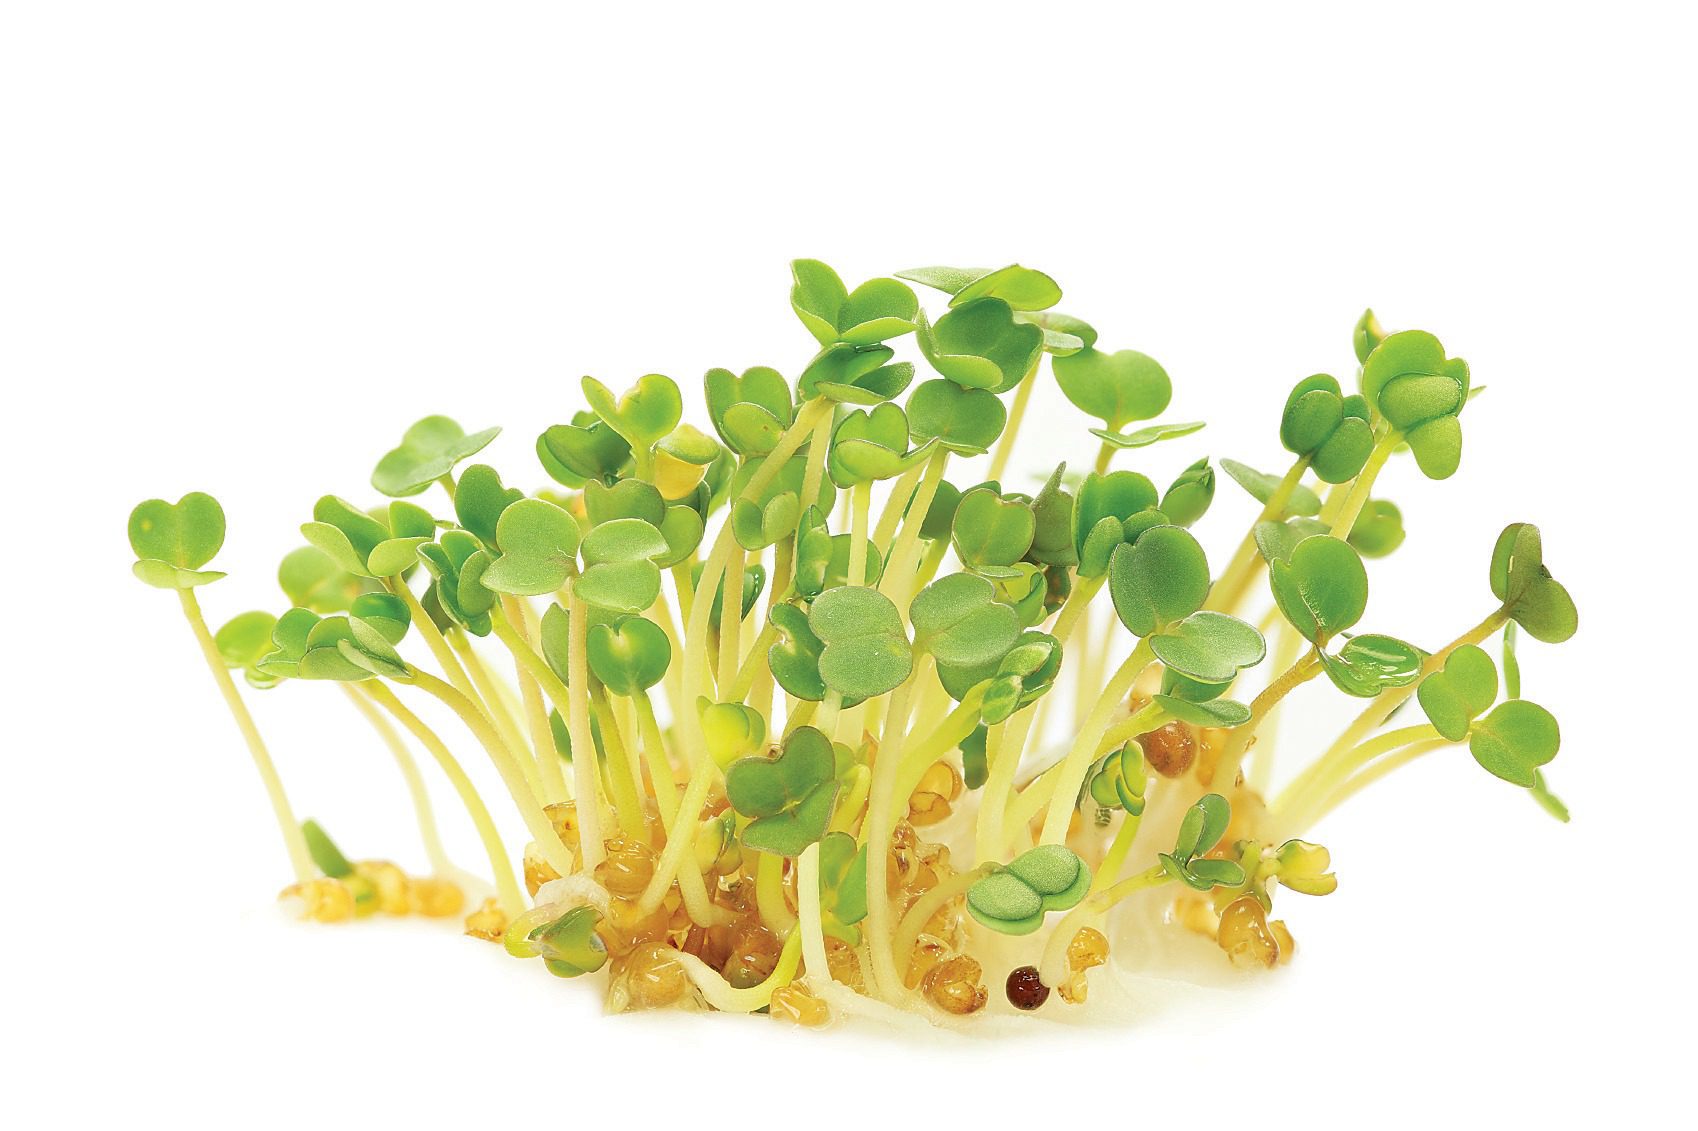
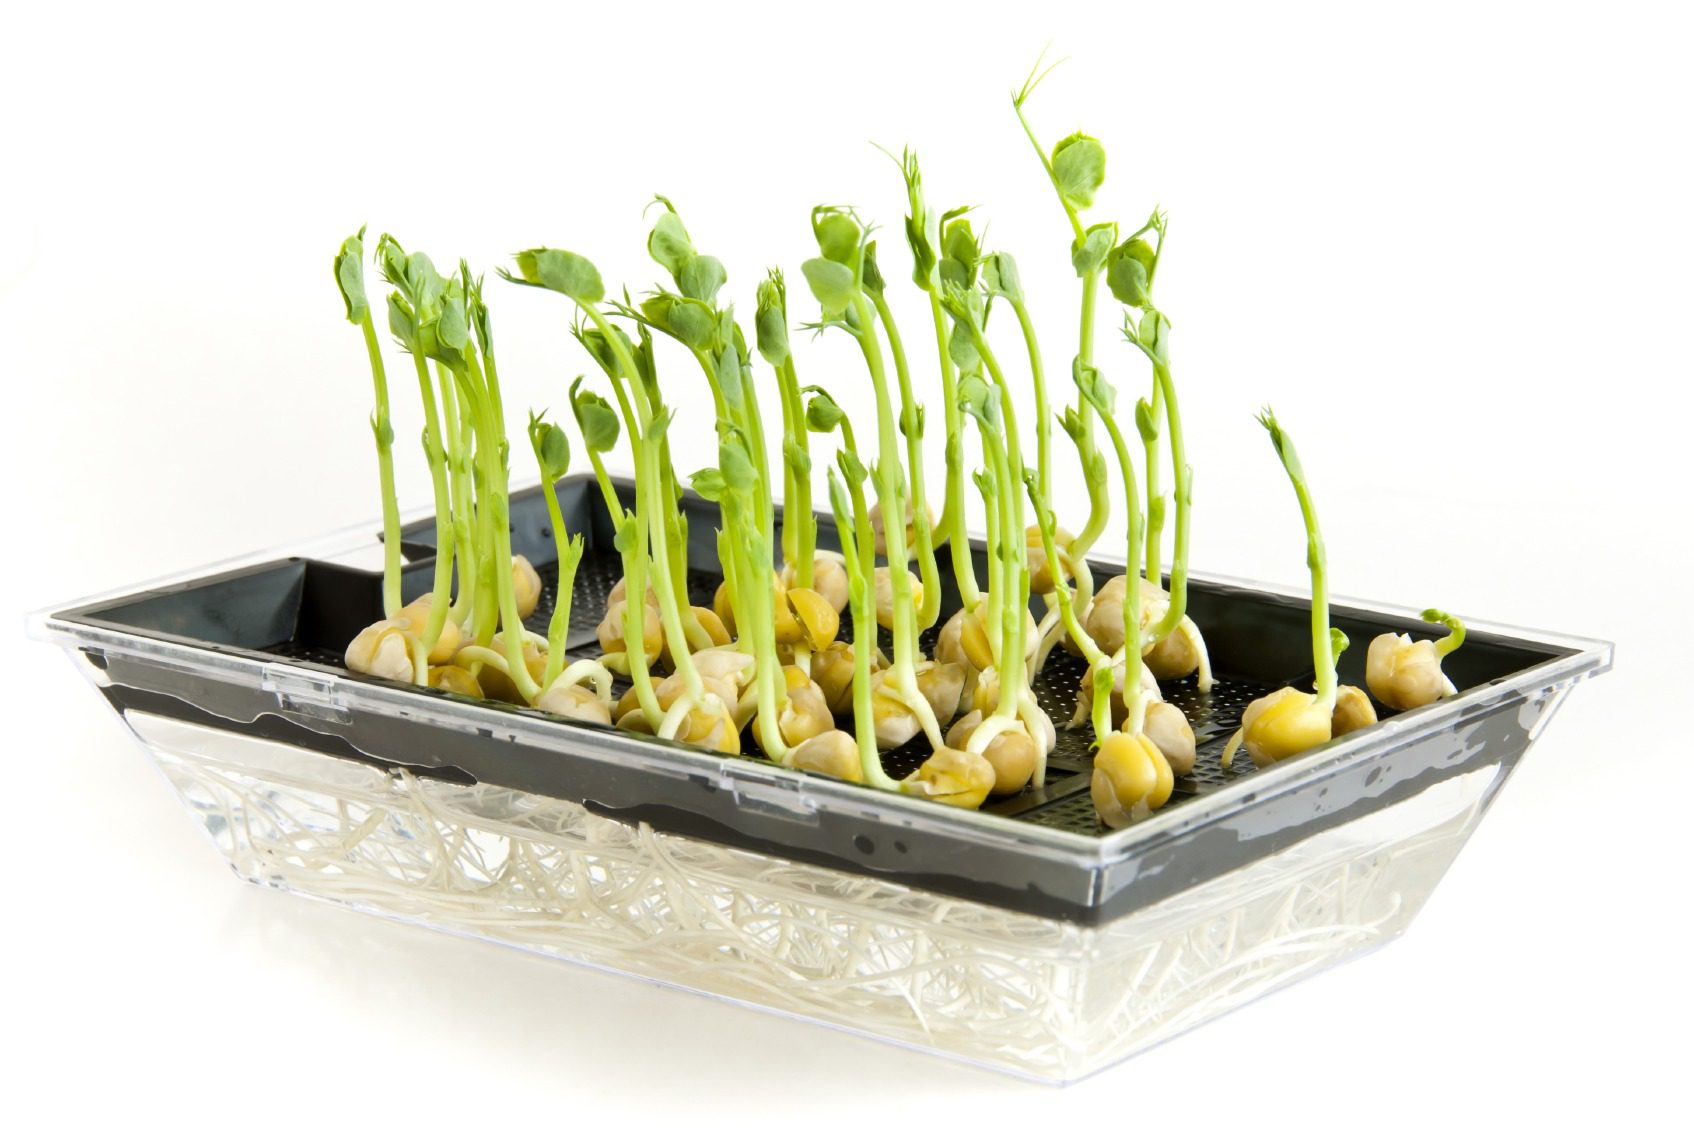
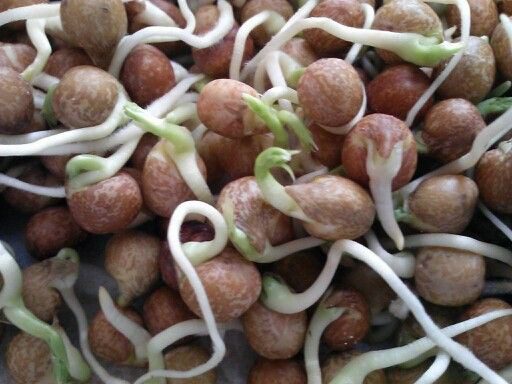
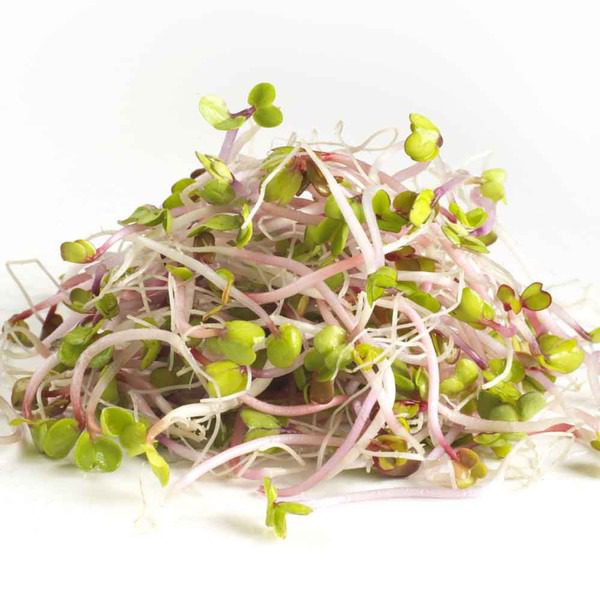
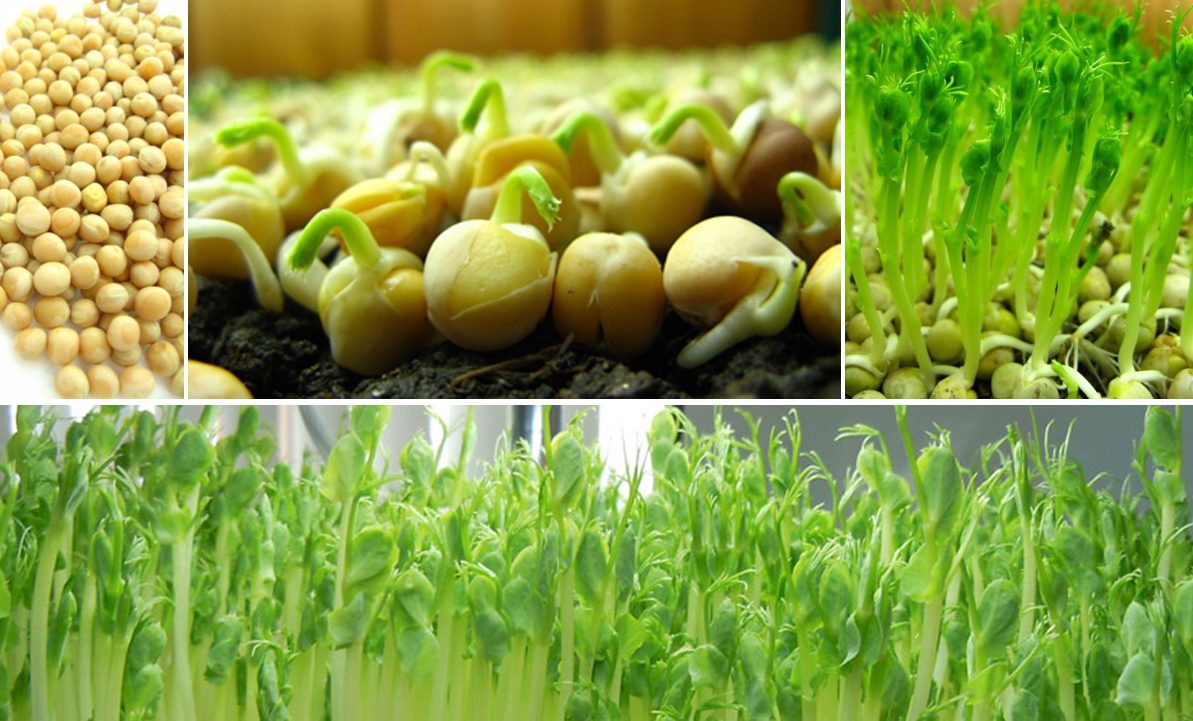
A sprout is a seed that is starting to grow and whose leaves are not fully formed. It is cultivated without substrates in a container or seed sprouter. The humidity is maintained by rinsing the seeds regularly. And it can’t be done faster: some go from seed to ready-to-eat in less than 5 days. Germinating is so quick and easy to grow that even those who don’t have a green thumb could start without embarrassment.

Sprouting requires a slightly longer growing time, usually you should see at least two well-formed leaves on the plant. It grows either in potting soil or hydroponically.
Some stores sell already sprouted seeds, this allows you to taste them before starting your own “home” culture. When choosing your seeds, look for packages that show fresh-looking sprouts that are not already wilted.
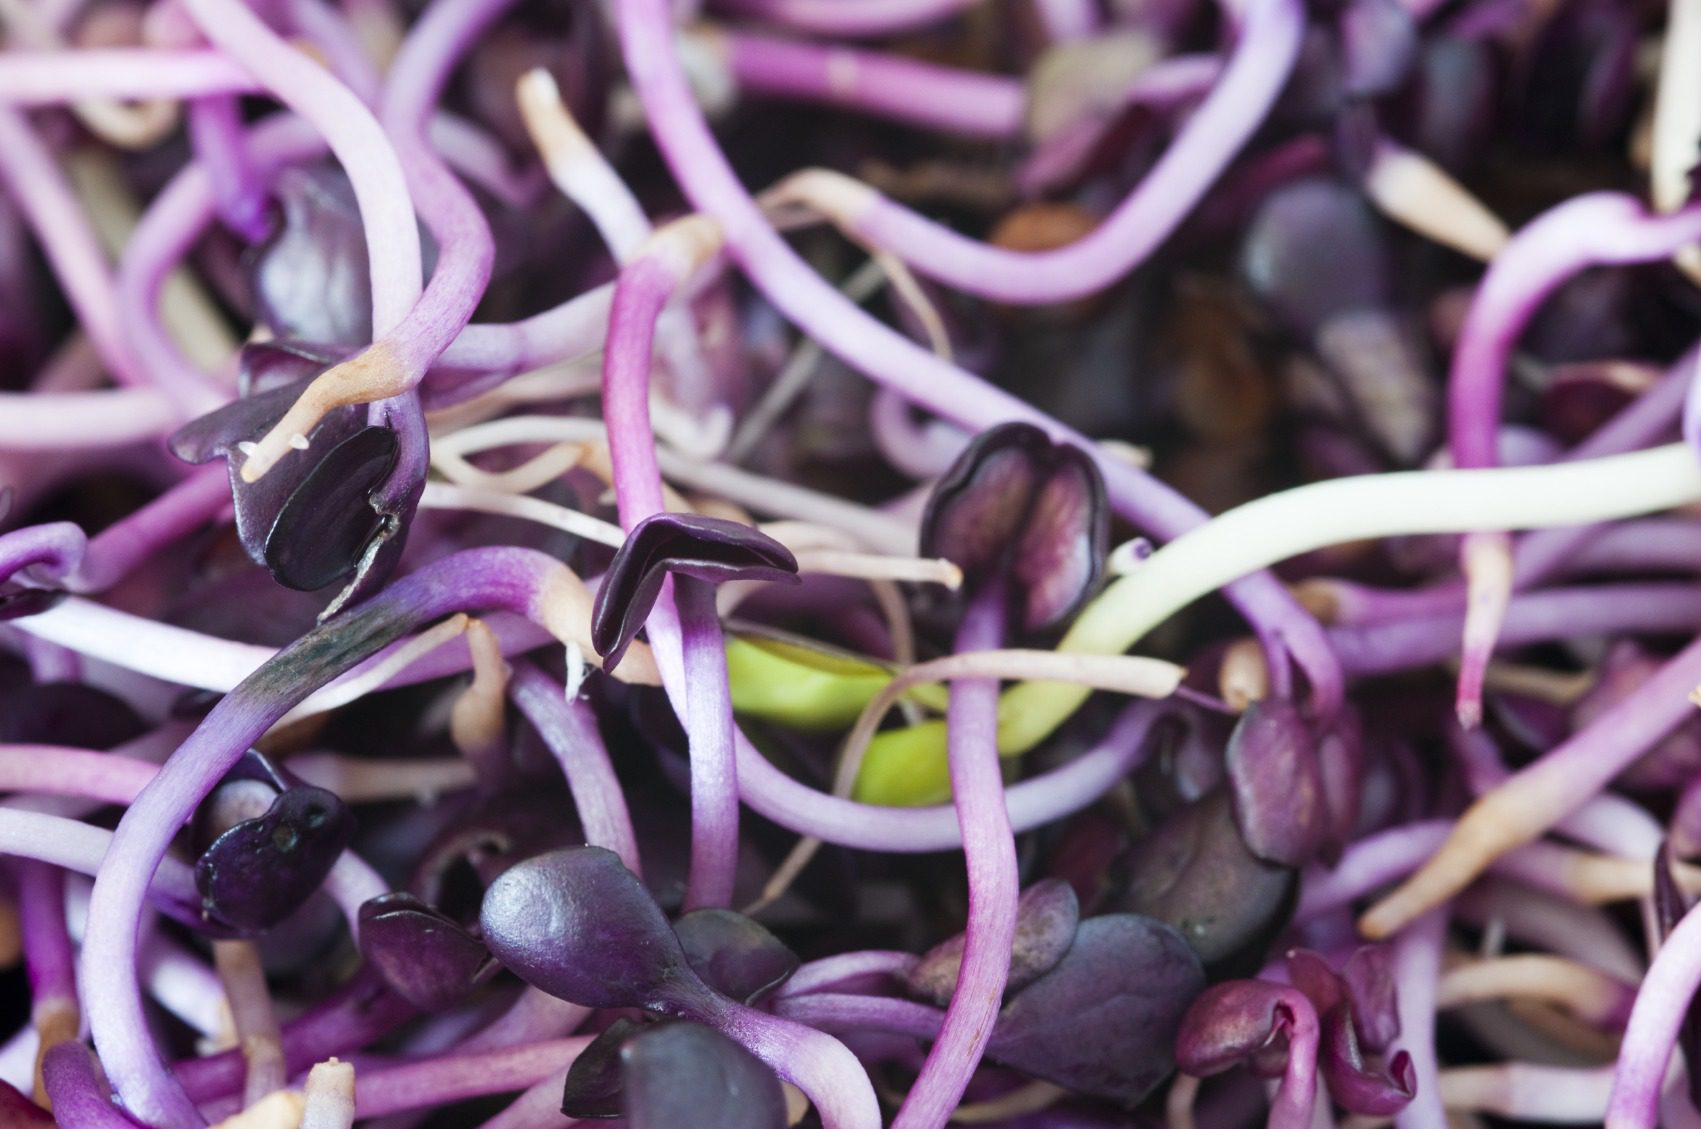
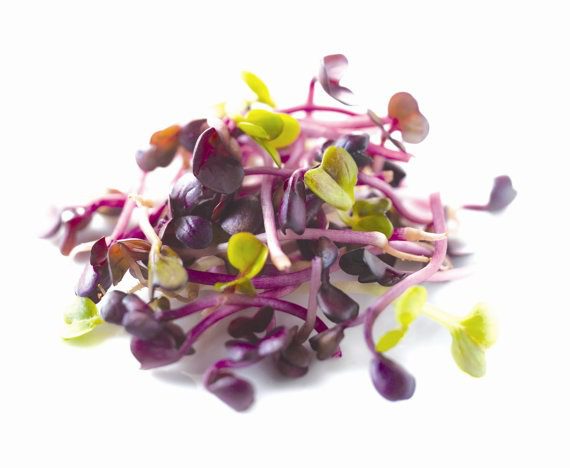
The best way to be sure of the freshness of these foods is to grow them yourself. Before buying, ensure that they are seeds for germination. You will find many varieties and different flavours (bland, bitter or spicy). Radish and arugula seeds will have strong flavours.
Three (3) main categories according to their production method
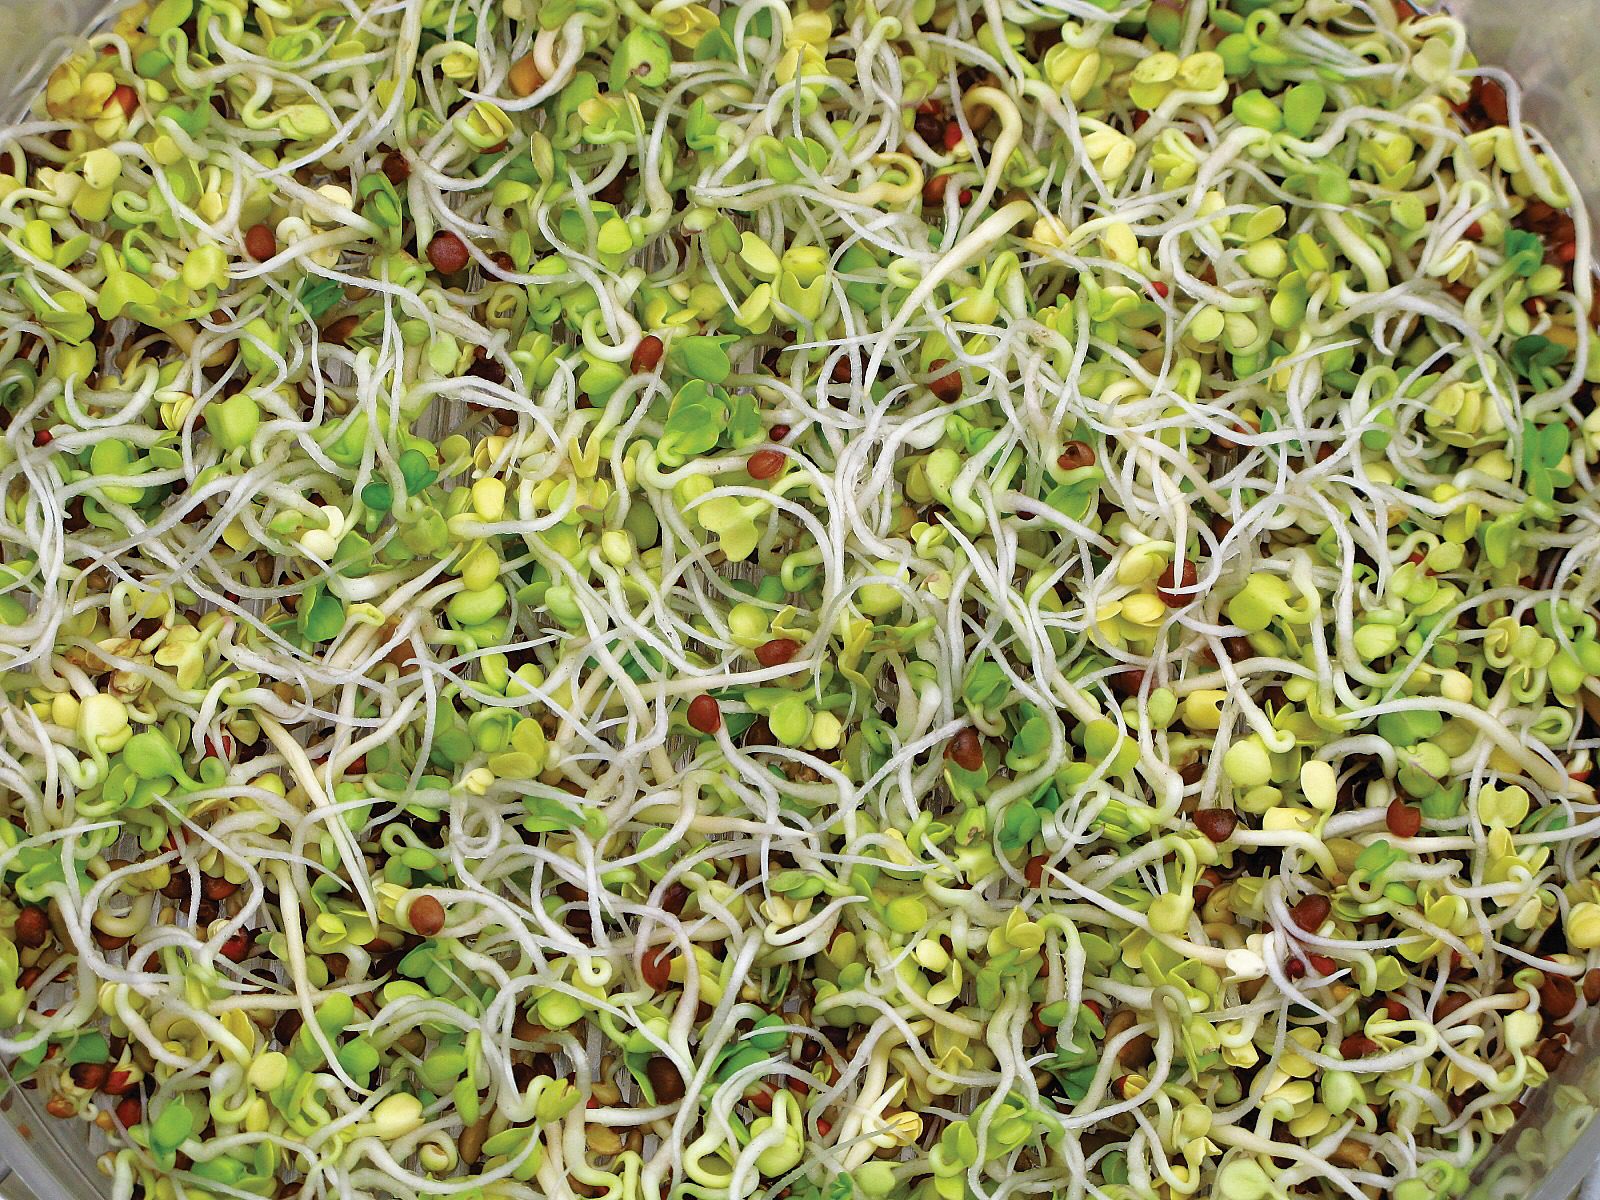
- Sprouts: Fenugreek, Alfalfa, Vitality Mix, Energy Mix, Soybeans and Mung Beans.
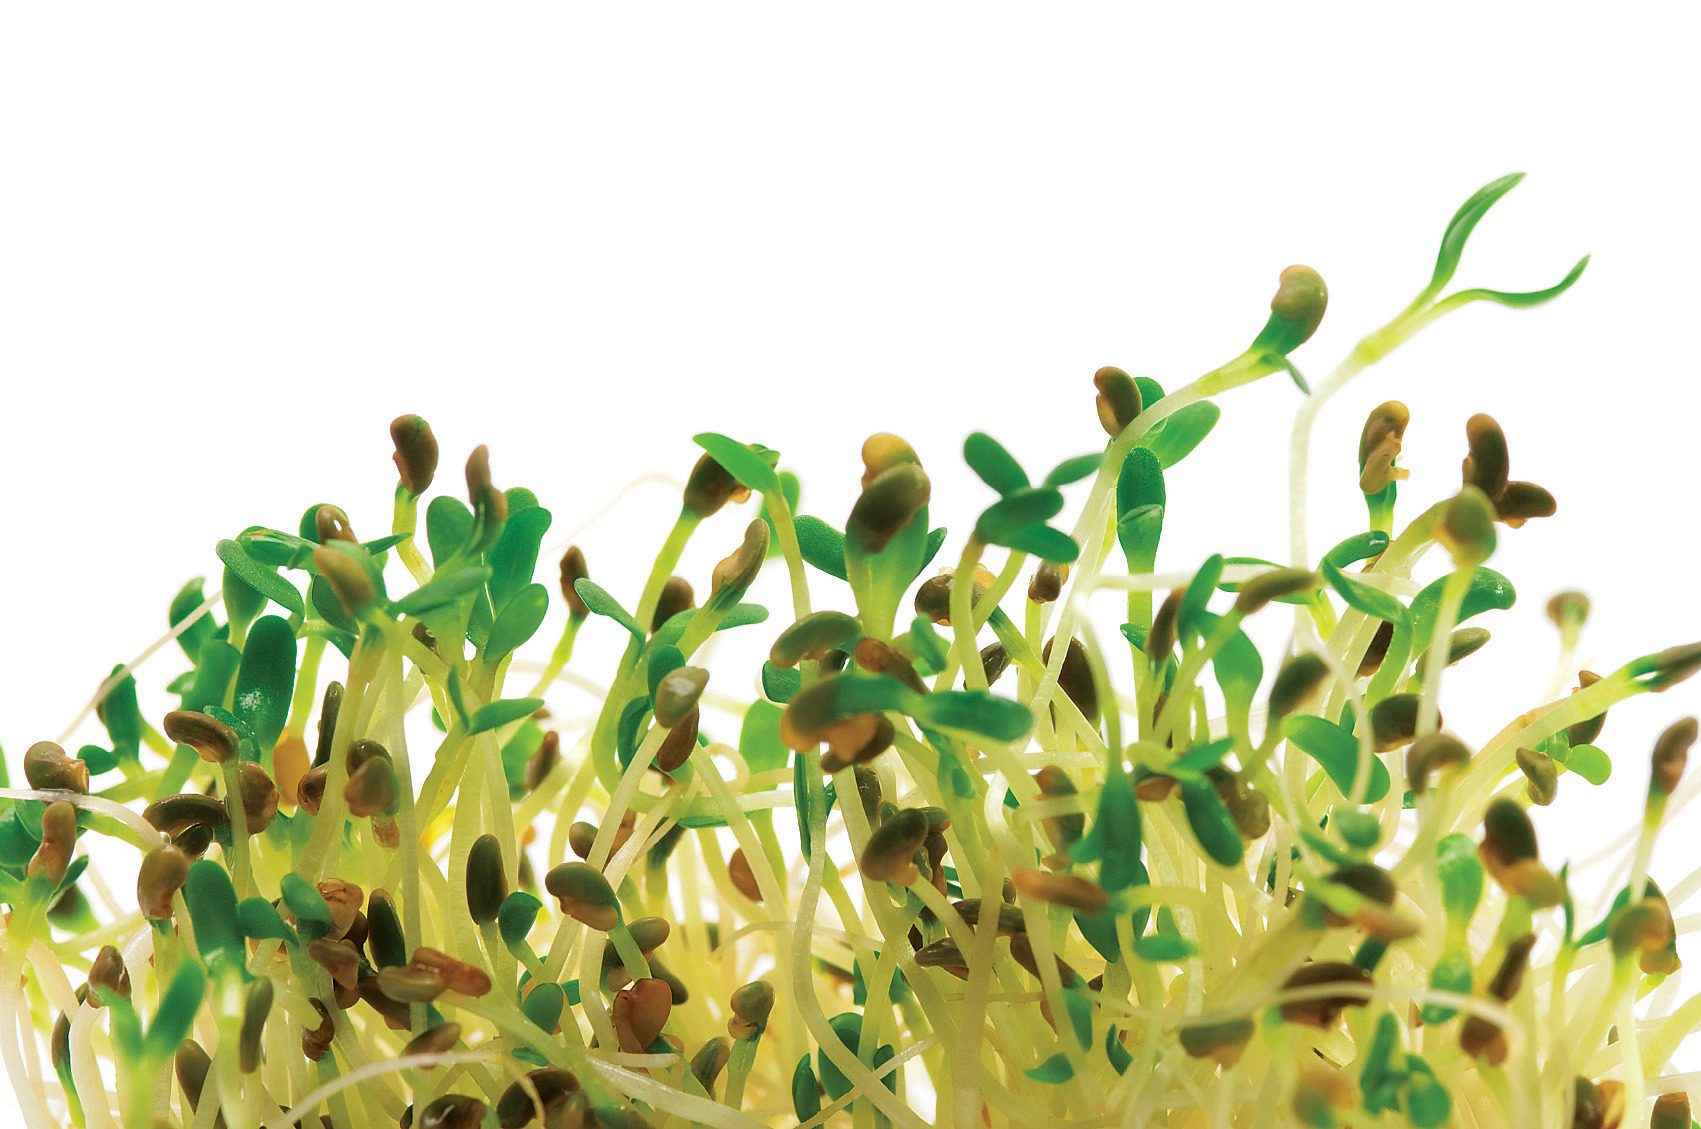
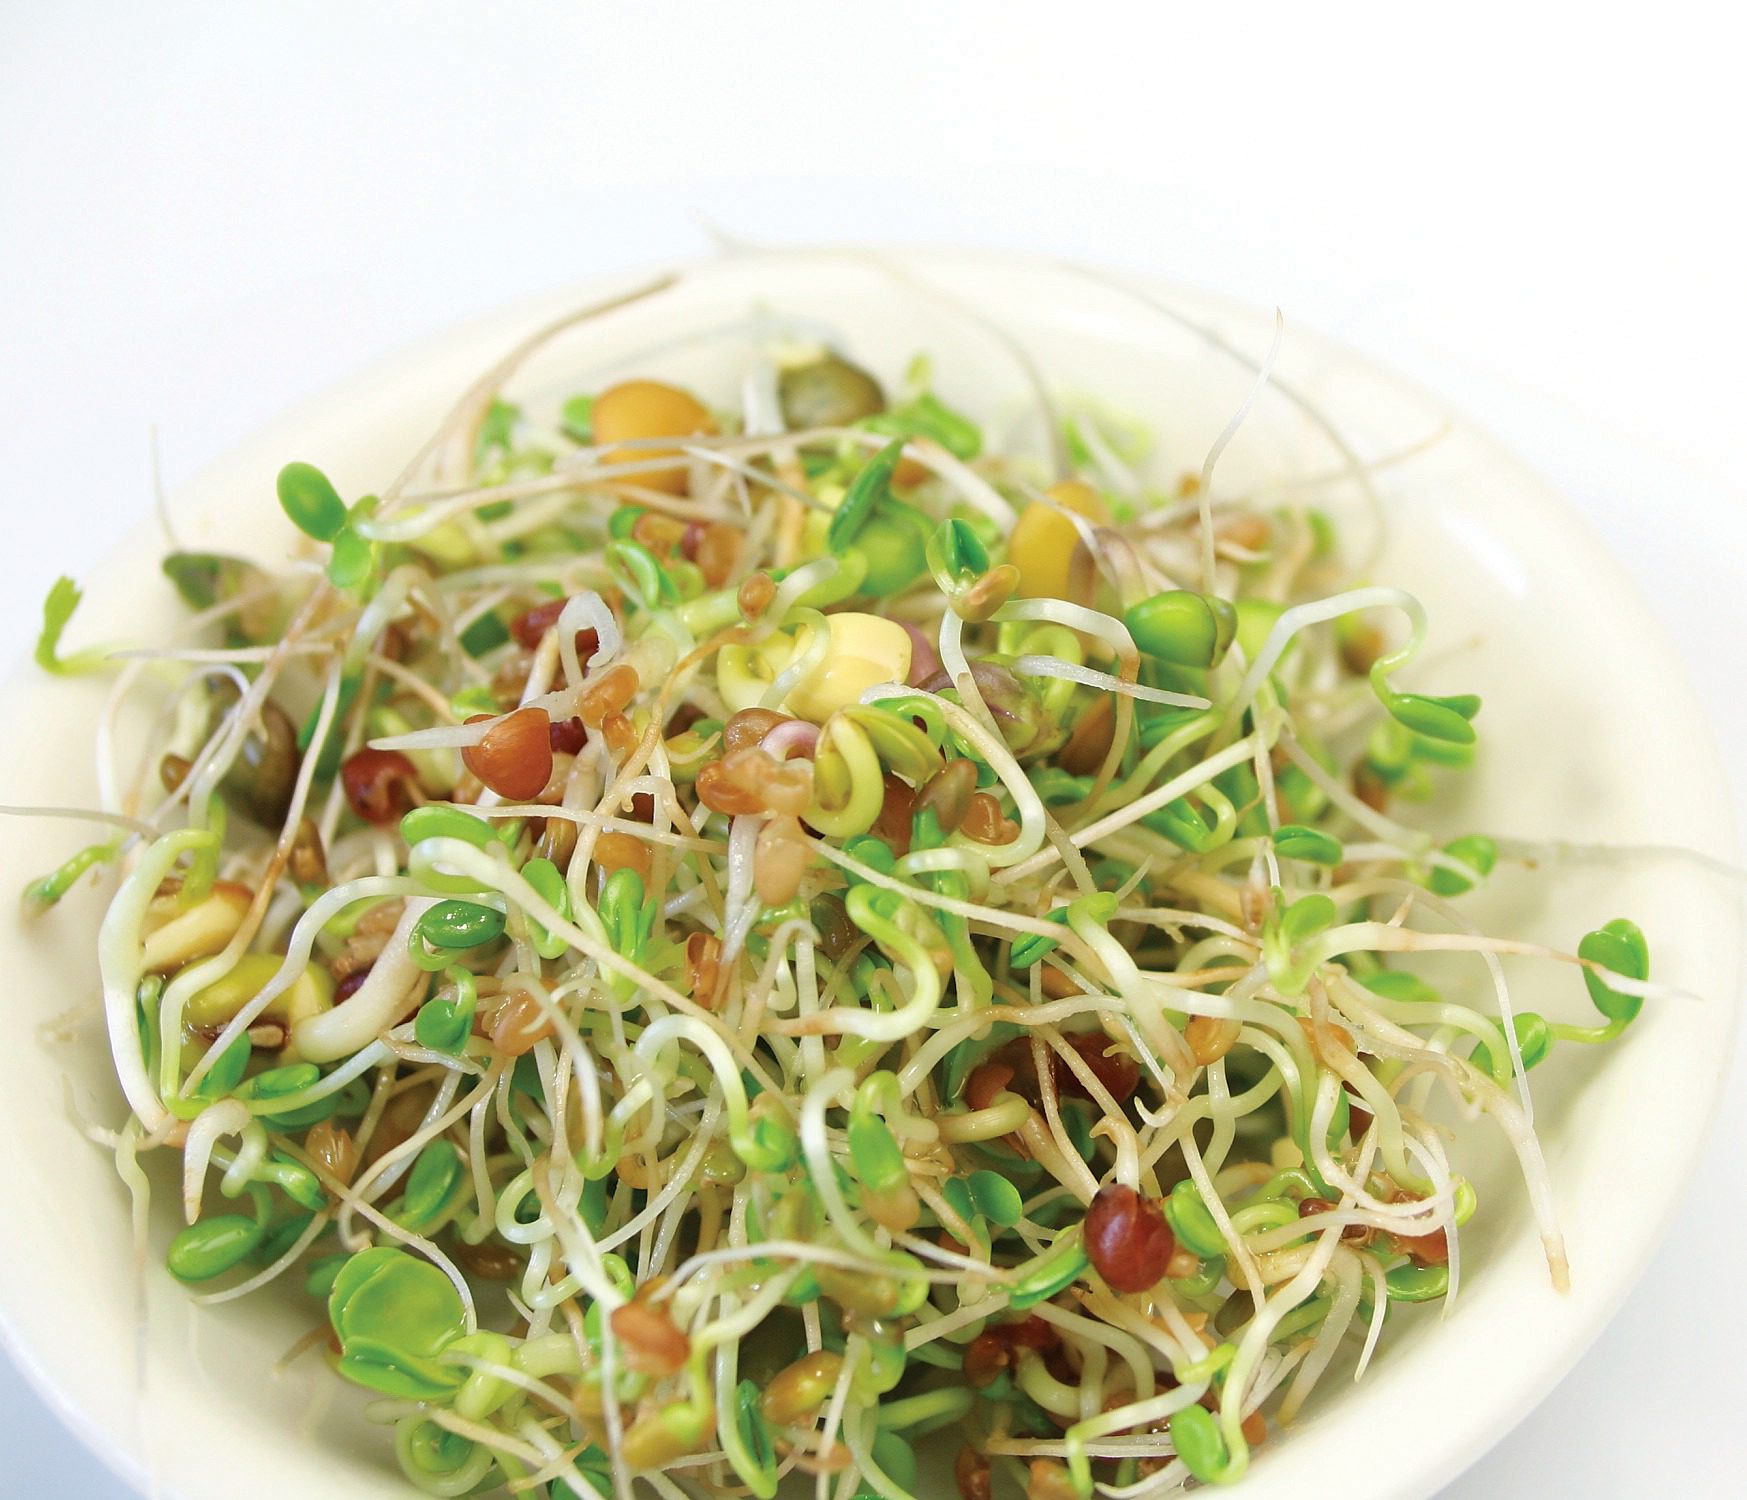

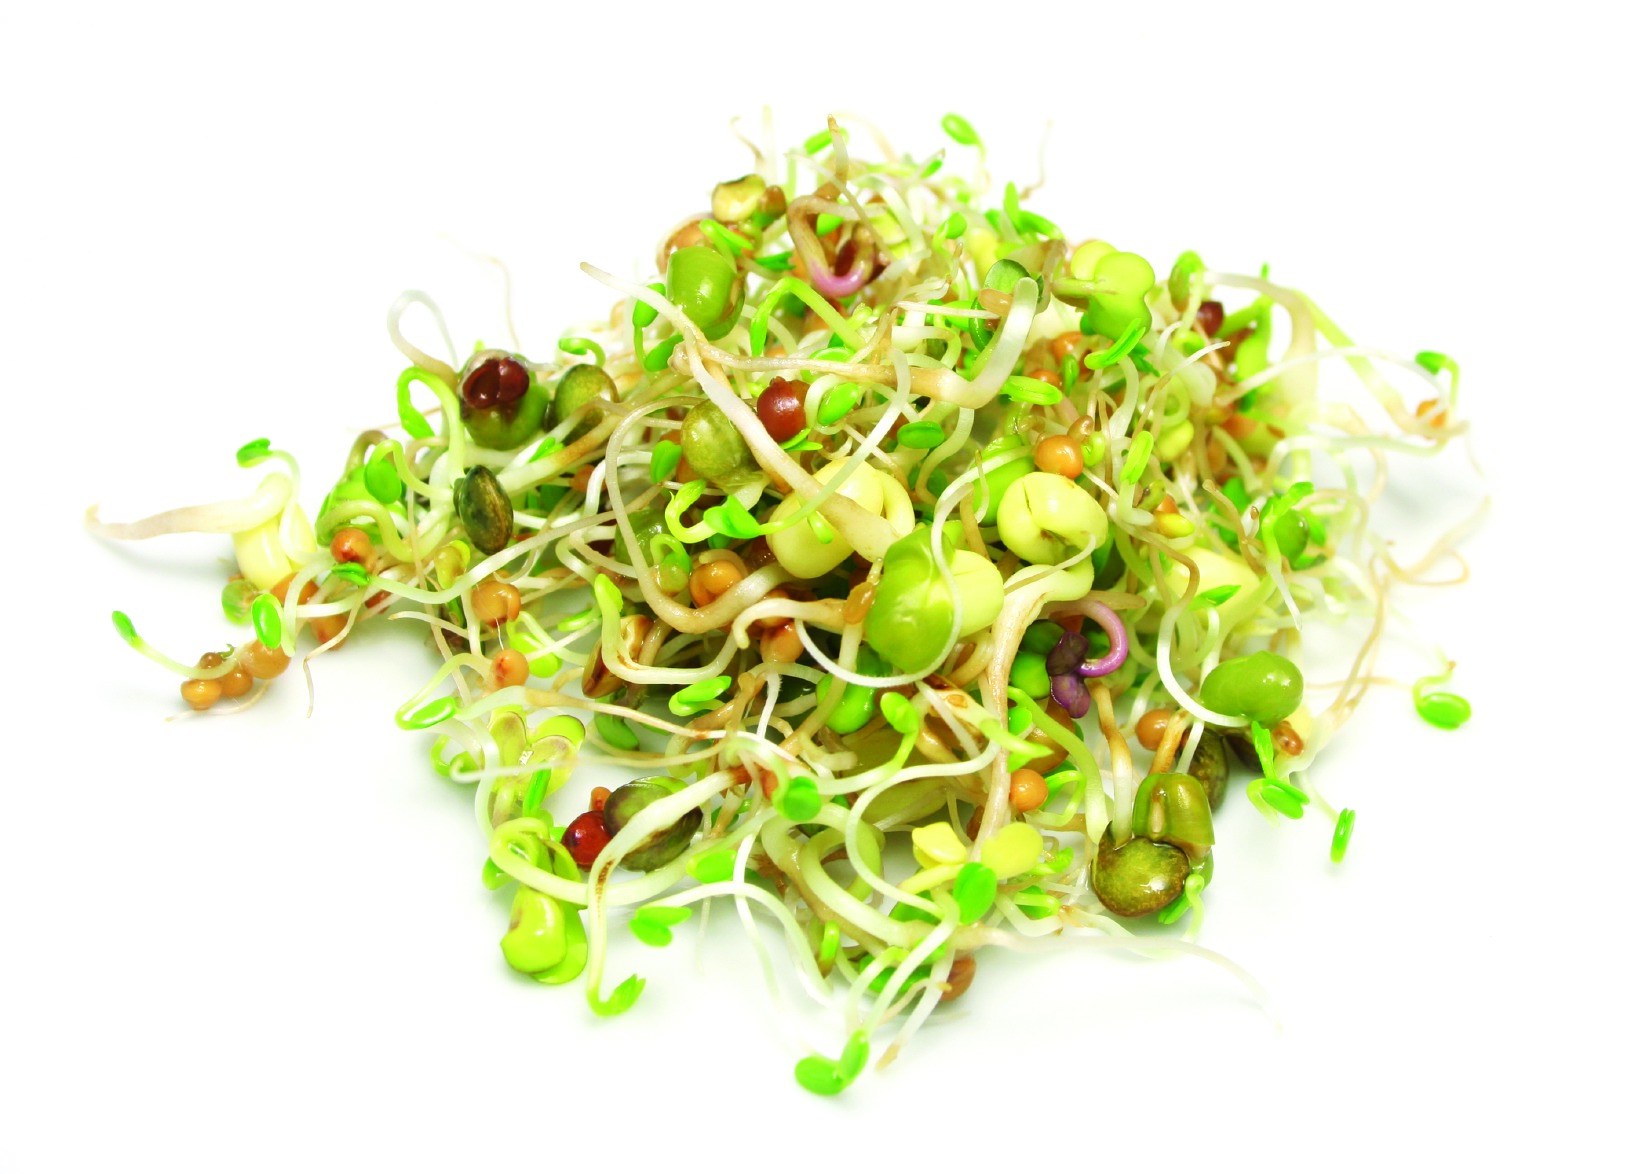
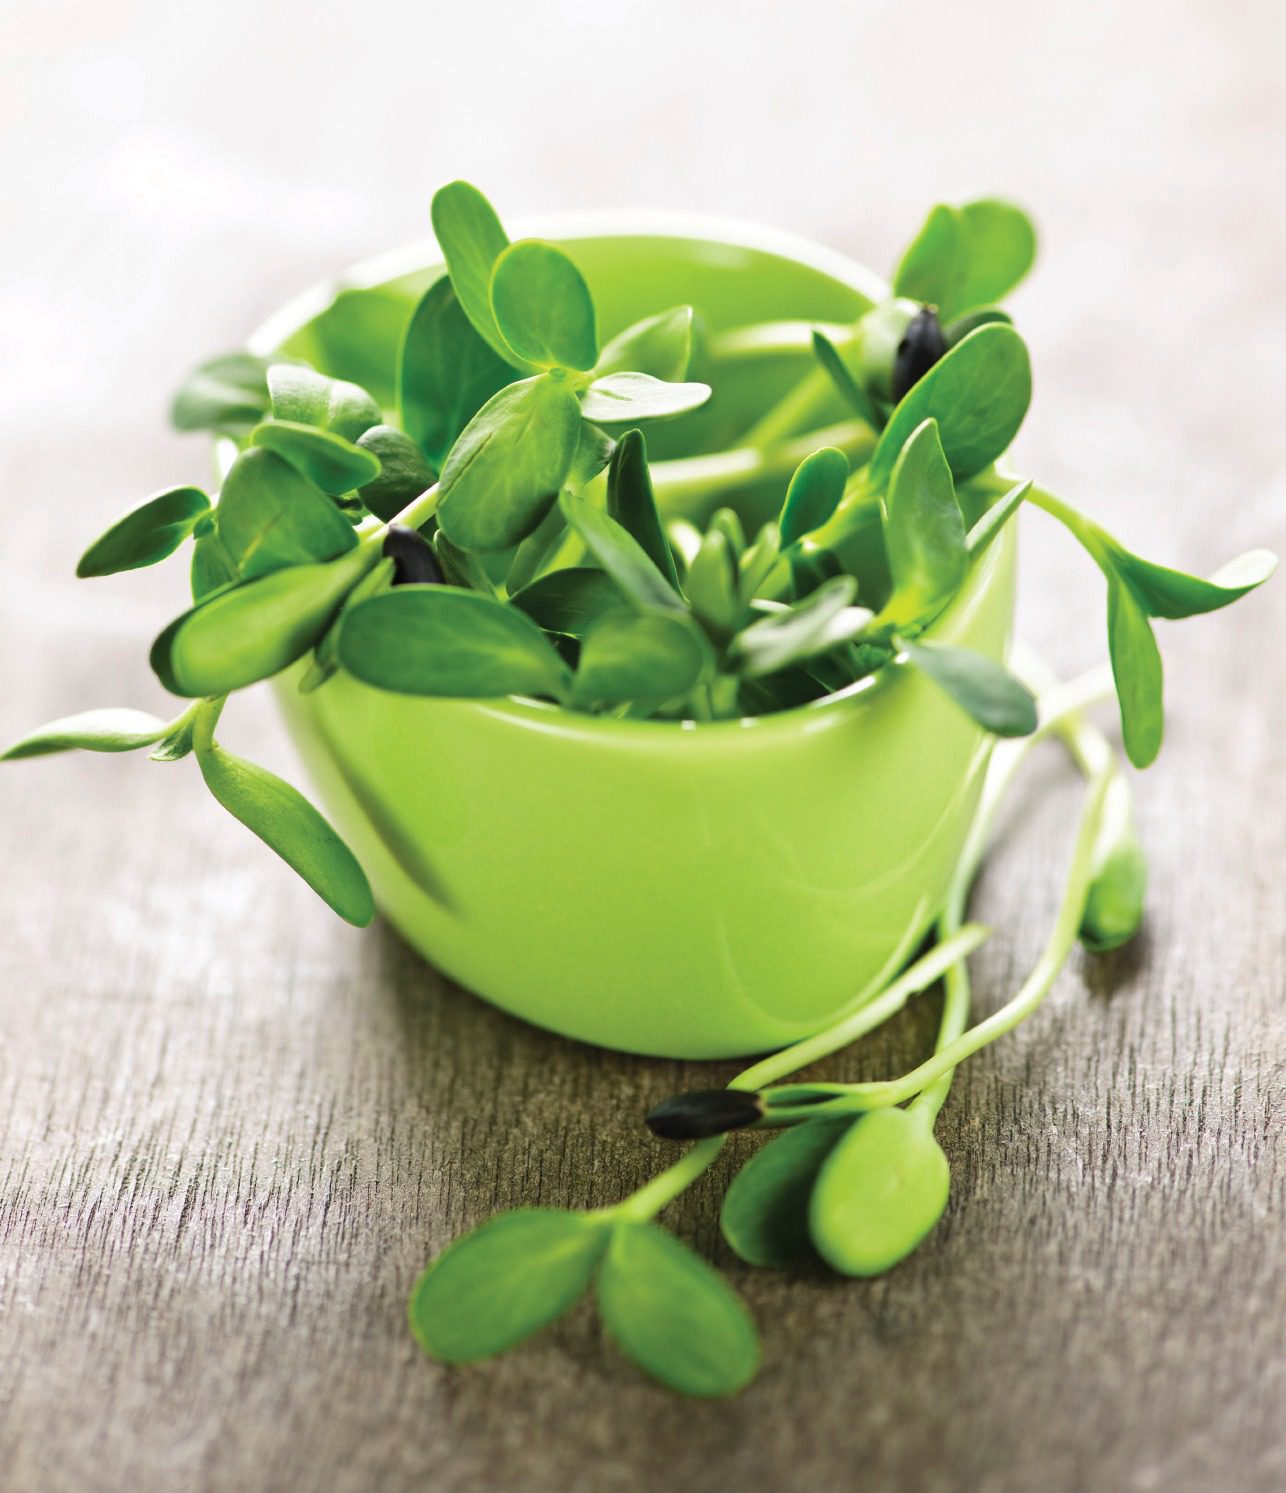
- Micro sprouts: Dill, Basil, Cilantro, Arugula and Sunflower.
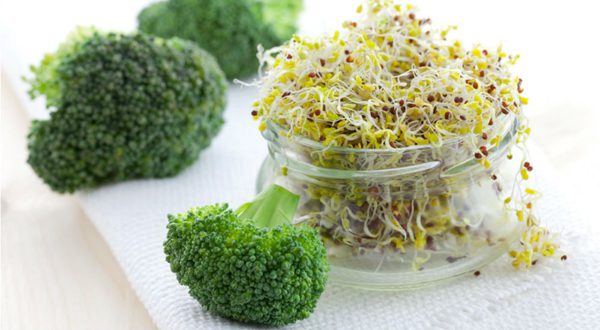
- Sprouts and microgreens: Hard Red Winter Wheat, Broccoli Rabb, Red Cabbage, Kohlrabi, Red Lentil, Green Lentil, Peas, Peas – Chickpea, Peas – Maple (Spotted), Radish – Daikon, Radish – Rambo, Radish – Super Hong Vit, Pink Radish China


Grow Them at Home
Once you have chosen your seeds, setting up the crop is quite simple. You need a small space on your kitchen counter or windowsill and a glass jar or “sprouter.” As your sprouts and interest grow, you can accessorize your production kit if you wish.
Easy Steps (See the Sprouts and Microgreens Growing Guide.)
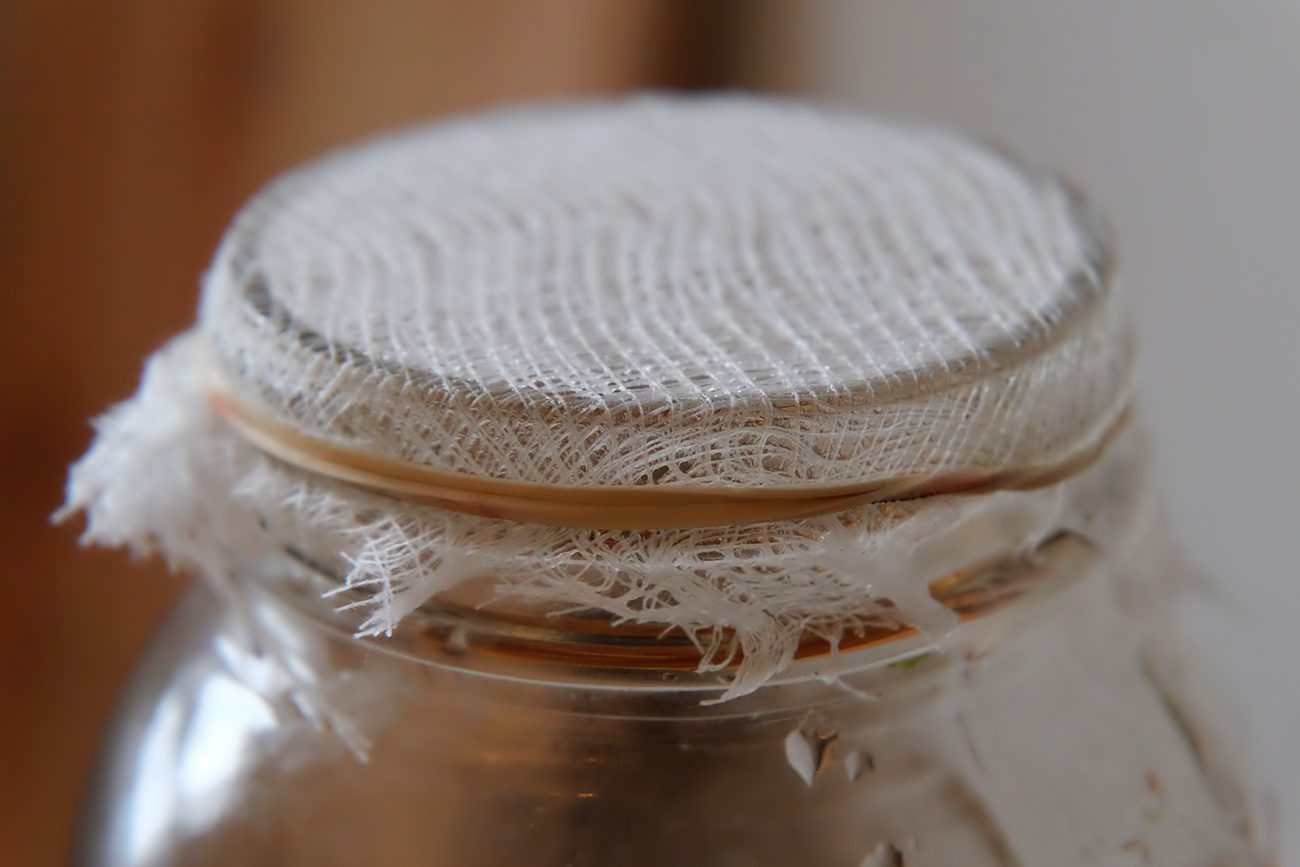
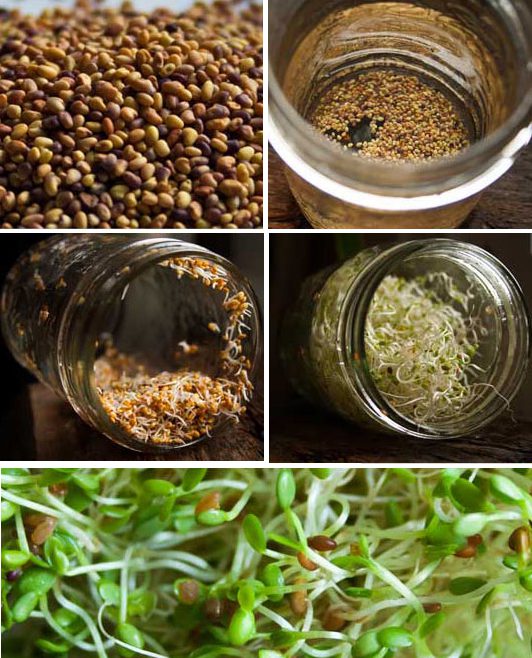
- Put 2 or 3 tbsp of seeds in a warm jar or Masson and mix with a cup or two of water. Cover the mouth of your jar with perforated plastic wrap or a piece of cheesecloth held together with a rubber band; this helps with drainage without letting any seeds out.
- Let the mixture soak for at least 6 to 8 hours, or overnight. Drain the seeds, pour in fresh water, swirl slightly and drain again.
- Place the container, with a slight downward angle so that there is no accumulation of water in the bottom.

- Before the seeds germinate, it is best to cover your container with a cloth or to place it in the cupboard.
- Re-soak and drain morning and night, keeping them moist. Once you see the start of a shoot, you can let them see the light. A seed in soil where its moist and dark starts to sprout, then it requires sunlight.
- Continue the soaking program twice daily for 3 to 5 days, at which point you will have thick green sprouts ready to eat. The uneaten sprouts can be well drained and stored in the refrigerator for a few days.
If you like to eat fresh and nutritious food daily basis with minimal effort, foresee having a few jars in rotation in different stages of production. It will provide you a fresh daily supply.
Growing Sprouts
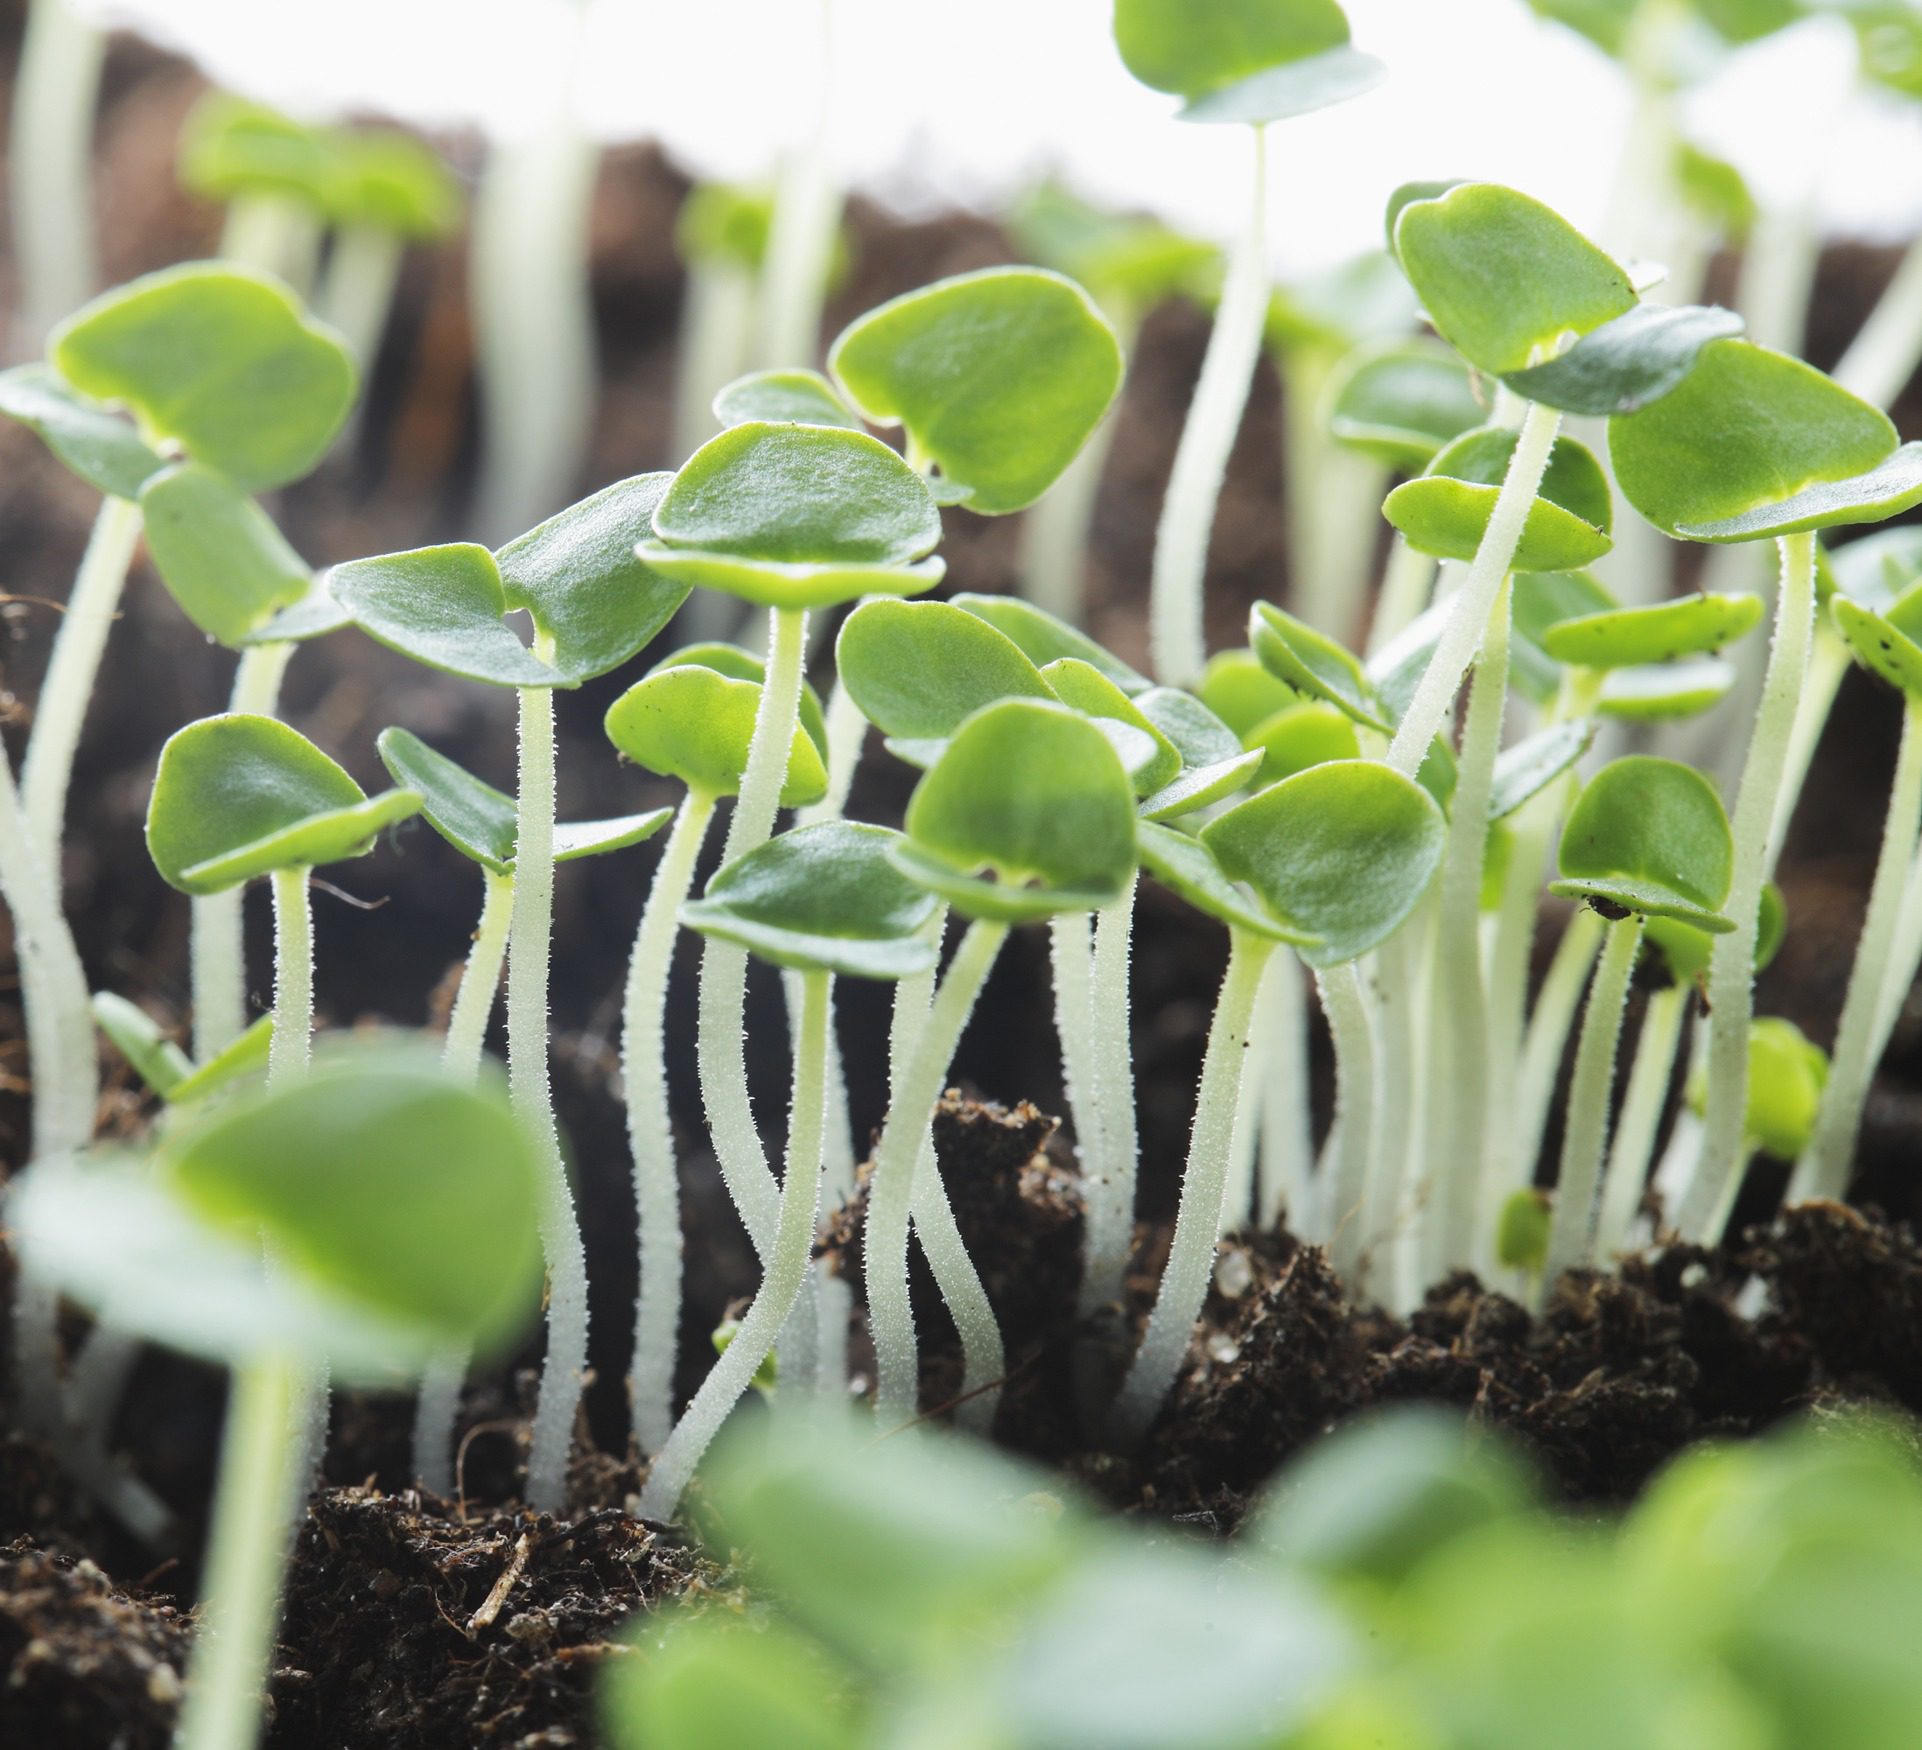
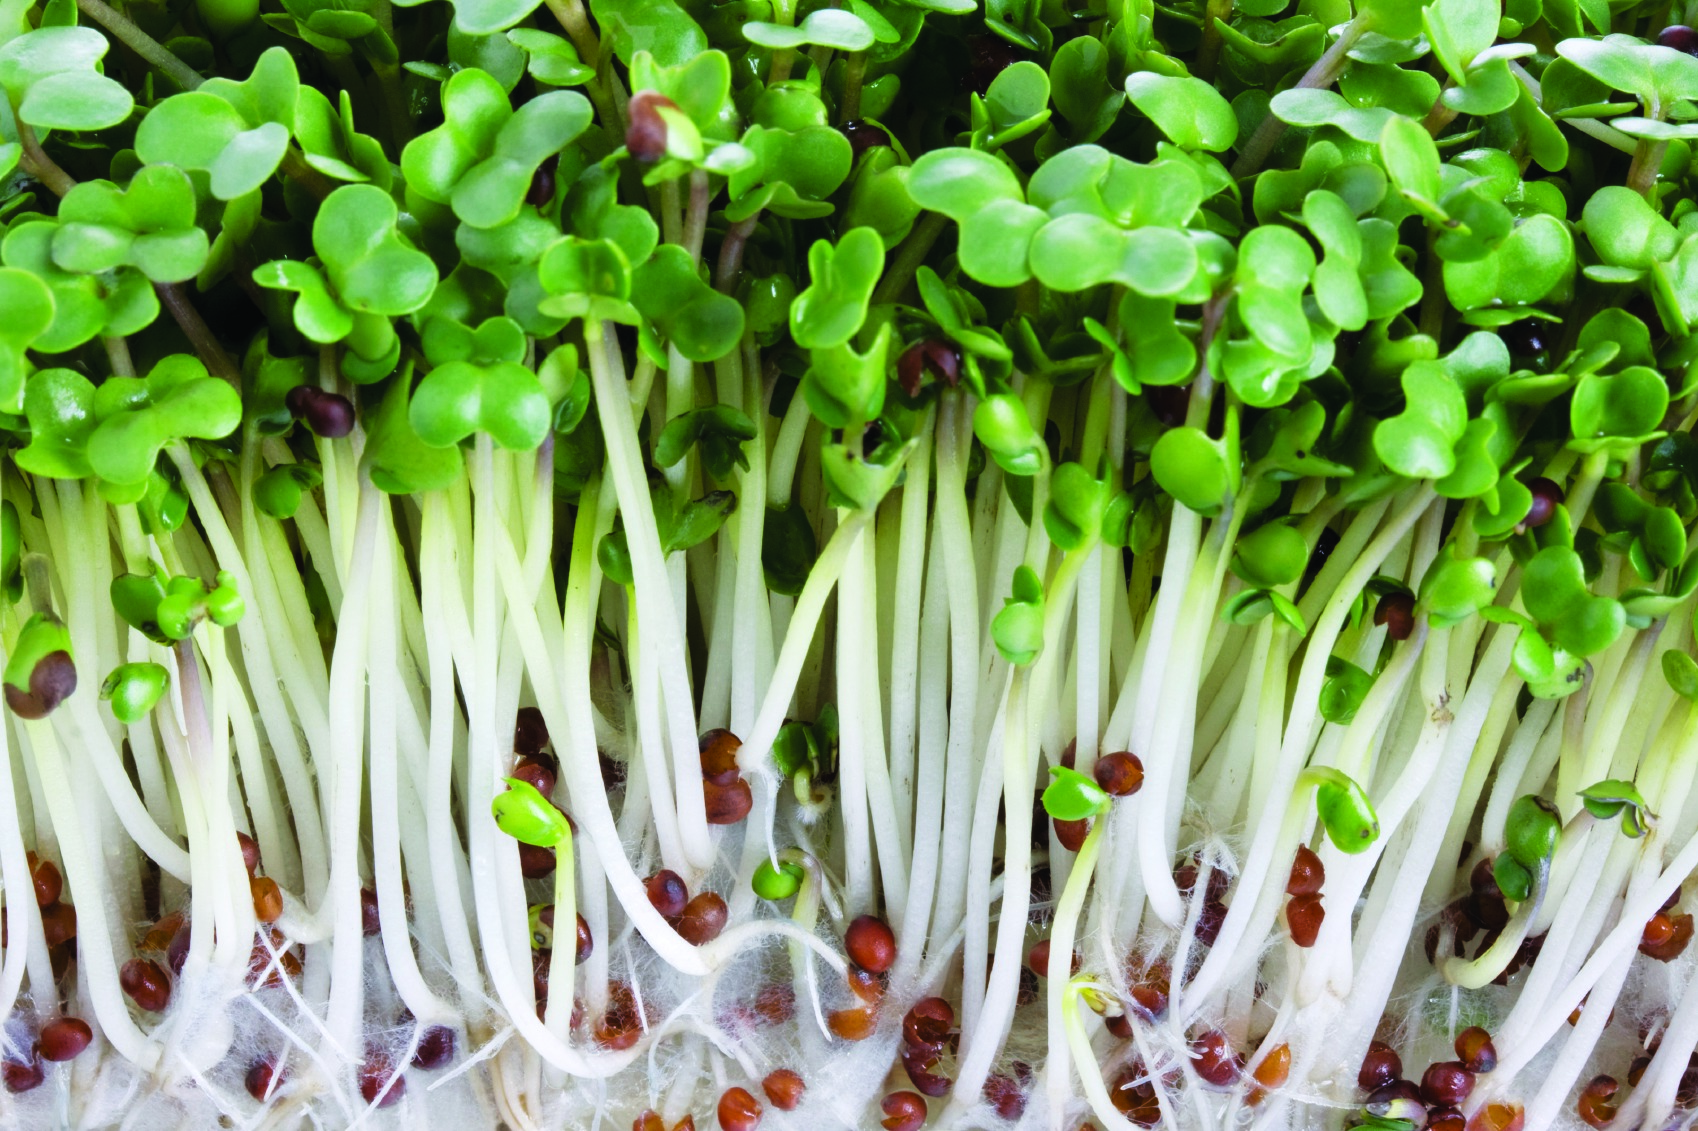
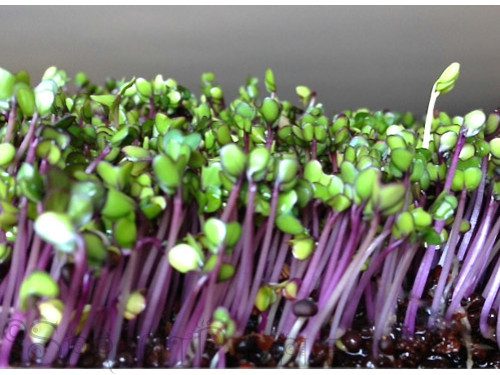
Micro sprouts are the first shoots of the leafy greens or vegetables we normally grow and eat; the difference being that they are harvested before the plant matures. Some plants may be from the same seed as the sprouts that grow on the windowsill; the difference being that they are sown in the soil rather than just using moisture and light to grow.
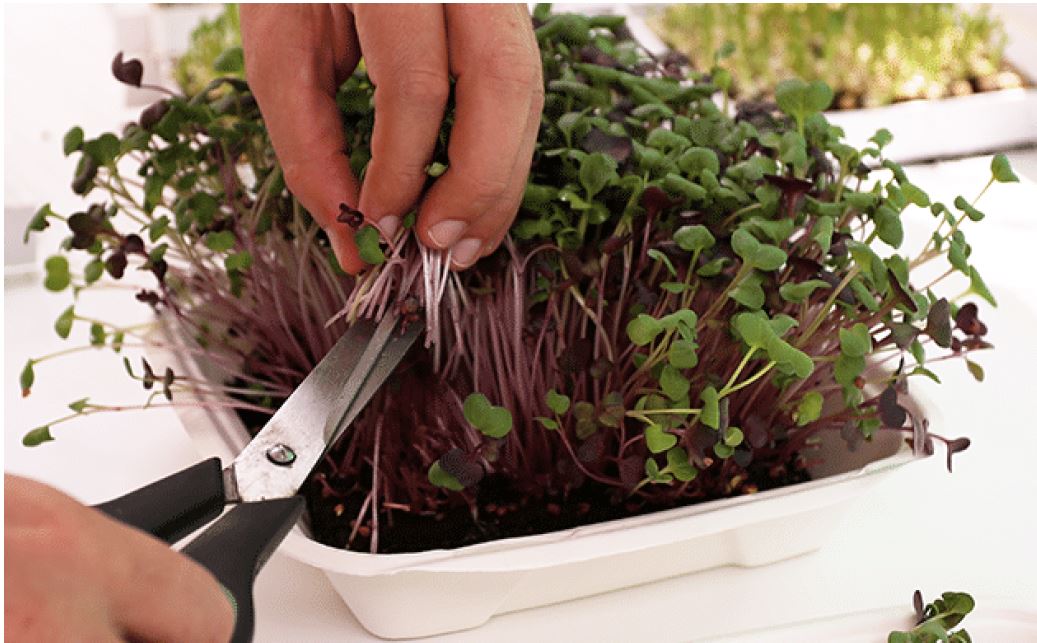
When harvesting, you will not eat all of the seeds and plants, as you would with sprouts. Instead, you will generally leave the root structure in place and simply trim some of the greenery with scissors when the plants are only 10 cm tall.
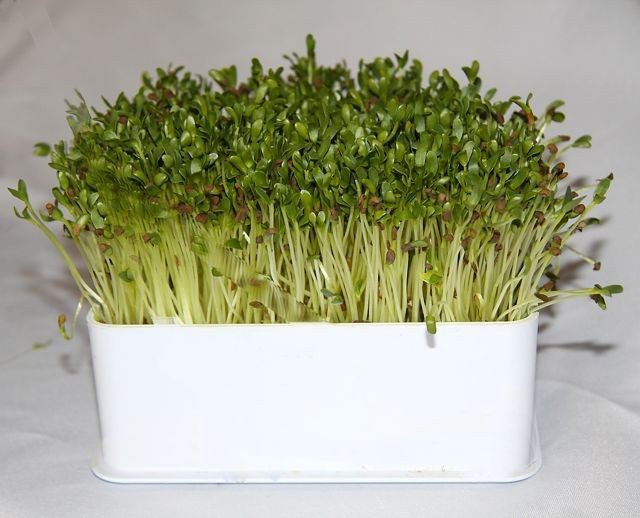
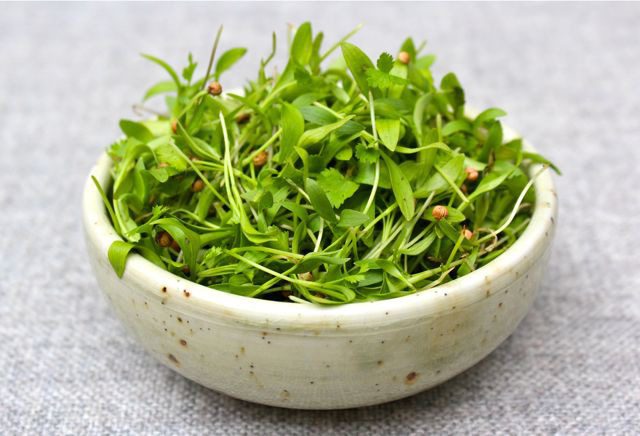
Microgreens are rich in fibre and have a higher nutritional value and vitamin count than mature plants, so they are considered a superfood. Because they are soft in texture, sprouts in sandwiches and salads won’t give the crunch you get from sprouts.
Grow Them Indoors
You need a small space near a window. Like growing sprouts, growing microgreens is a very easy process that doesn’t require much equipment or experience. With very little equipment and effort, you can have greens ready to harvest in a few weeks.
Here’s How & What You Need
- Potting soil or Terrafibre™ germination mats;
- Shallow trays or containers, such as deep pie plates or even disposable take-out containers or K601 multicells;
- Seeds of your choice;
- A window with about 4 hours (or more) of direct sunlight per day.
Steps
- Take the time to read the instructions on the seed package or visit our website. The ideal growing process may vary a bit depending on the type of plant.
- Place about an inch and a half of potting soil in a tray, level it, but do not compact it.
- Spread the seeds over the surface of the soil and gently push them into the soil with your hand or a piece of cardboard.
- Once the seeds are in the soil, cover the entire surface with a thin layer of soil and wet the top surface (a sprayer is ideal).
– During the first 3 to 5 days and until the sprouts appear, spray them twice a day, but do not overwater them.
– After sprouting, continue to mist them once a day.
– Micro sprouts need about 4 hours a day of direct sunlight to thrive.
Note: If they are spindly and pale, this indicates that they need more light. If you don’t have a south-facing window, but really want to produce them, you can always use a grow lamp.
Egg cartons are an easy way to try different varieties; fill the indentations with soil and follow the instructions mentioned earlier. If space is limited, try two or three types in each box and use “popsicle” sticks broken in half to identify the seeds.
Advantages:
Your sprouts will be guaranteed to be fertilizer and pesticide free.
Germination requires no soil, no transplanting and no transplanting.
Germination is fast: it requires little care that a few minutes per day for the rinsing.
You’ll have fresh sprouts on hand at all times, especially in winter!
Sprouts will keep longer because they won’t have spent time on the grocery store shelf.


