Potatoes
Succulent and nutritious, potatoes are rich in vitamins. Did you know that a medium-sized potato contains no more calories than an apple of the same size.
Botanics
- Solanum tuberosum
- Family: Solanaceae
- Origin : Andes
- Flowering period : summer
- Colour of flowers: white
- Type of plant: root vegetable
- Type of vegetation: bulb
- Foliage type: deciduous
- Height: 1 m
- Toxicity: toxic foliage, toxic green and germinated tubers
Planting and cultivating
- Hardiness : annual
- Exposure: sun
- Soil : light, rich in humus, 60 cm deep
- Soil acidity : 5.5 to 6
- Soil moisture : normal
- Spacing: 35 cm between tubers and 45 cm between rows
- Use: vegetable garden
- Propagation method: sowing
- Planting: May
- Diseases and pests: Colorado beetle, Colorado potato beetle, potato moth, late blight.
- Companion plants: cabbage, kohlrabi, shallots, corn salad lettuce, onions, peas, thyme.
- Enemy plants: garlic, eggplant, chard, beets, celery, celeriac, ground cherry, pumpkin, shallot, endive, spinach, beans, melon, parsley, radishes, tomato.
Germinating Potato Seeds
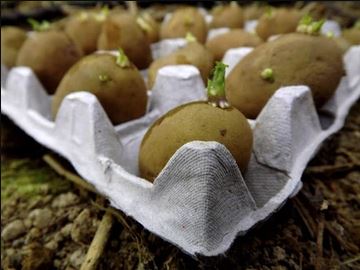
Use a crate or egg carton and place the potatoes in it without stacking them. If there is a sprout, it should face up. Store the potatoes in a dry, cool and airy place. The temperature for an ideal germination is between 10°C and 15°C. Germination time is approximately 4 to 6 weeks. Note: to slow down germination, you must keep them in the refrigerator.
Growing Potatoes in Containers
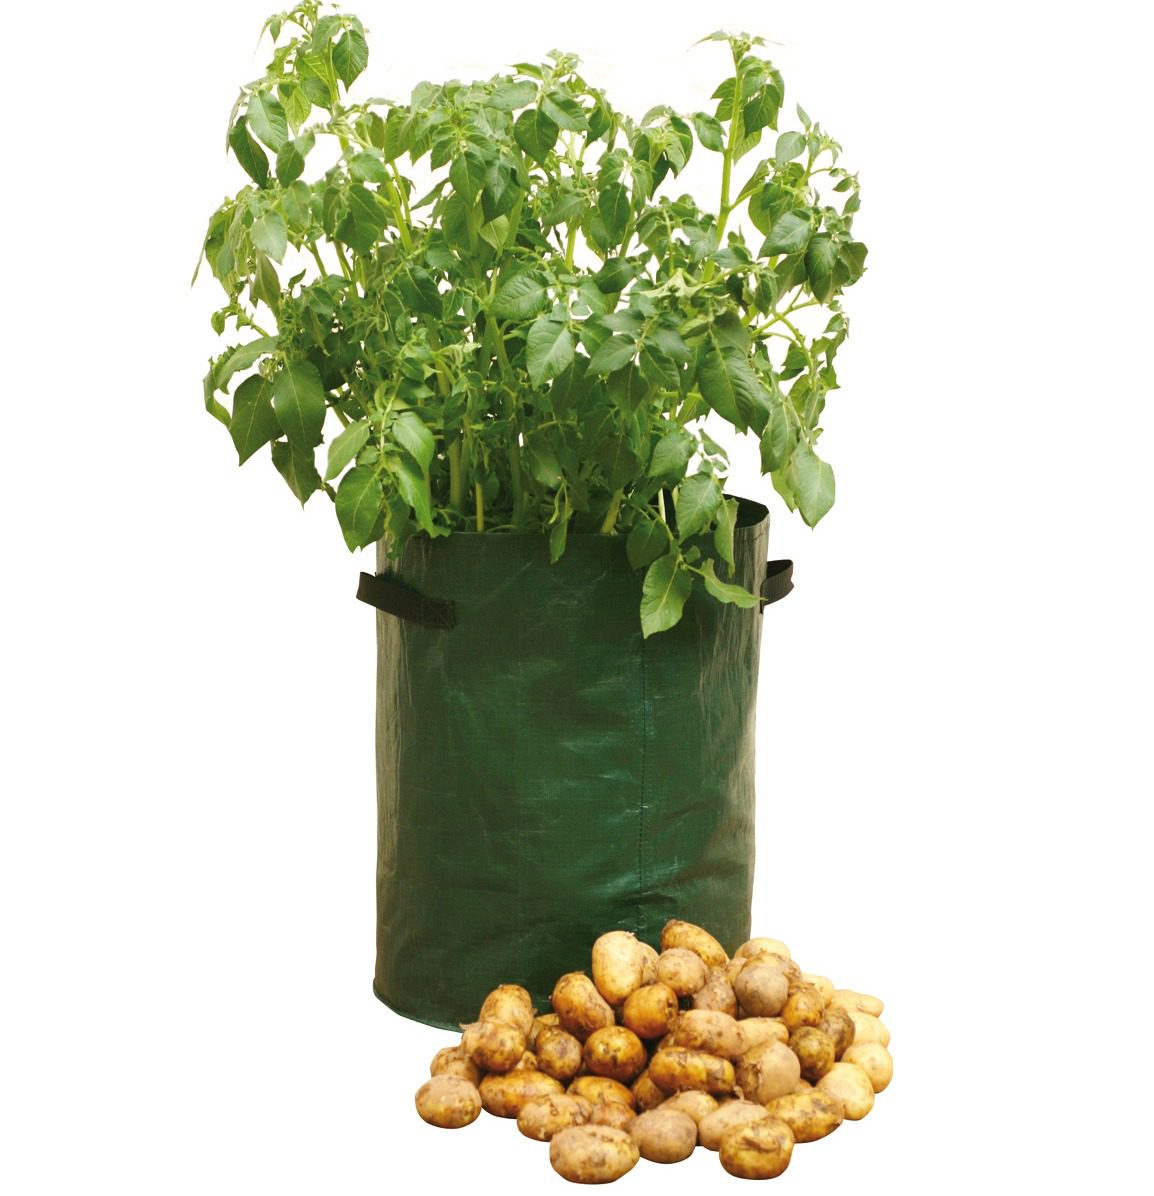
Growing potatoes in a basket, bag, tower, compost bin, potato planter, barrel or trash can has several advantages. You can grow them in small spaces, reduce the amount of weeding, reduce exposure to pests and fungi. It is preferable to plant them in the same place year after year, because you only need to disinfect your containers with bleach or vinegar (see recipe below). You won’t risk damaging the potatoes by digging the soil with a shovel to pick them up. The principle of growing up in a small space – above ground – is simple, just replace the depth of the soil by stumping the potato plants as they grow. What you need, 4 to 10 potatoes, a tower container, such as a compost bin or potato planter.

Potato Patio Planter 07-1010-010
You can easily grow delicious potatoes from the garden, whether you have a garden or not. This durable bag is made of coloured reinforced polyethylene with drainage holes in the base and handles on both sides. Easy to harvest without digging. The package contains 3 bags – Dimensions: 35 cm diameter x 45 cm height. (14″ x 18″).
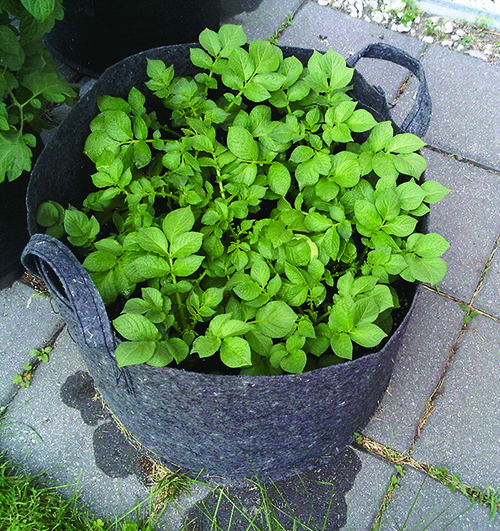
‘Root Pouch’ with Handles (5 gallons) 07-1041-010
This jar is lightweight, very durable, washable and reusable. The biodegradable fabric is designed to disintegrate in 4 to 5 years. In addition to being ecological, it allows the roots to breathe better and encourages the good growth of the plants. Ideal for potatoes, tomatoes, peppers and other plants of similar size. Pot with handles. Width 27.5 cm (11 ”) Height 25.5 cm (10.25 ”)
Once the tubers are well germinated (between the beginning and the end of May), place them on a bed of acidic potting soil (pH5.5-6), sprout on top (be careful not to break it), and cover them with soil; then water them and wait a few days. When the sprouts have grown about 5 cm, cover them again with soil (mounding) and let them rise. Continue this method until the soil has reached the maximum height of your container. Sunlight is essential for plant growth. Make sure your container is always in daylight. Then let the plants grow and bloom above the “tower”. The potatoes will grow around the roots.

Throughout this process, water regularly to keep the soil moist, but never soggy. Make sure light can reach your crops. Adjust the amount of water to the depth of your growing tray. The potatoes will be ready to harvest 3 to 5 months later. Wait until the flowers and leaves have dried out, then you can empty, turn or dismantle your “tower” and harvest your potatoes. Note: 1K of potato seeds (sprouted tubers) will produce about 25K potatoes.
Growing Potatoes in the Garden
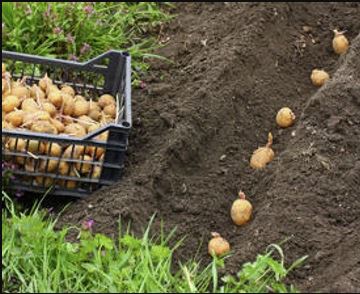
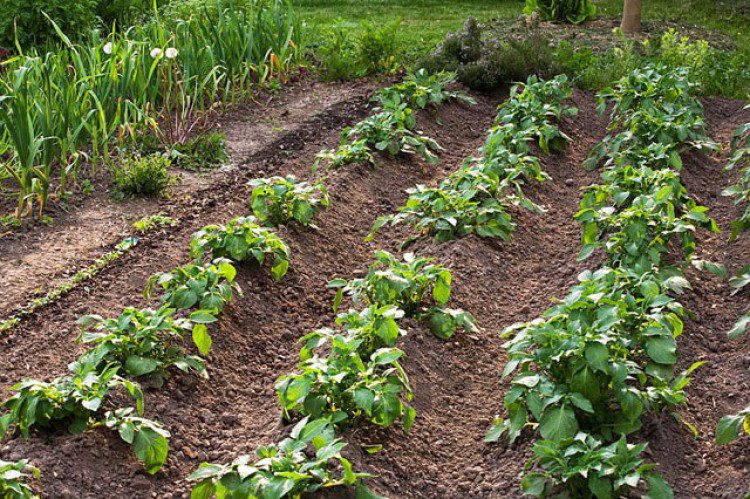
Prepare the soil, or better yet, the previous fall, by adding plenty of compost and fertilizer. Make furrows 10 cm to 30 cm deep (the lighter and sandier the soil, the deeper the furrow can be). Place a small layer of soil enriched with fertilizer or compost at the bottom. Place the potato plants, sprouts up, about 30 cm apart.
The furrows should be about 75 cm apart. Cover with a thin layer of soil. Potatoes need rich soil (add compost and manure as needed), light soil with little clay and low humidity. Potatoes should be planted in a sunny area.Water early varieties of potatoes (new potatoes) lightly, preferably in the evening, without wetting the leaves, but regularly. For late season potatoes (fall), water only to keep the soil slightly moist until the flowers appear. From then on, water more often, so that the tubers grow more quickly.
As soon as the plants reach 10-15 cm, move the soil up around the feet to form small mounds that promote the vertical development of the plant and protect the tubers from light. Repeat this operation as many times as necessary throughout the growth. The higher the potato plant is, the more roots and therefore tubers will develop.
When and How to Harvest Potatoes
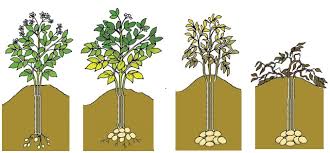
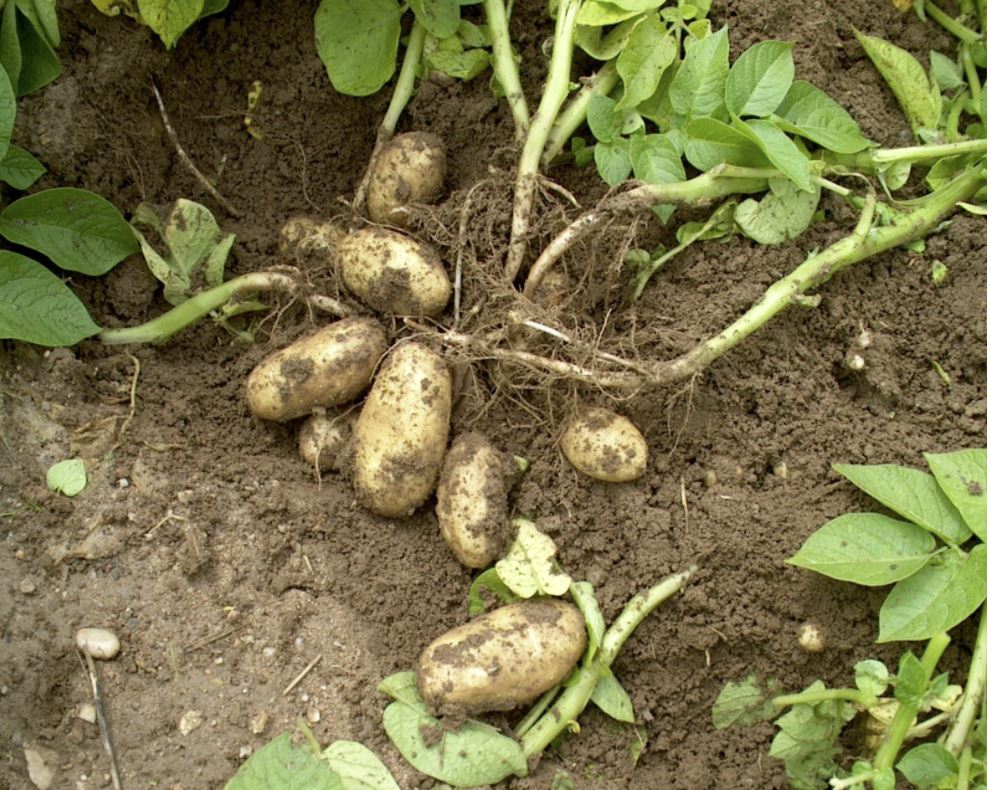
New potato varieties are harvested about 2 months after planting, when the plants bloom. Other varieties are harvested 3 months after planting, once the foliage has turned yellow.
To harvest potatoes, gently lift the soil, taking care not to damage the tubers, and then dig them up by hand. They must be left to dry in the sun for a few hours.
Note: Usually 12 tubers per kilo are counted. This quantity should be sufficient for a row of 5 to 7.5 metres. One K of potato seeds (sprouted tubers) produces about 25 K of potatoes.
Pests and Diseases to Watch For
Downy mildew sometimes affects potatoes. As for insects, aphids and especially Colorado potato beetles feed on the tubers.
WARNING: to minimize pests and diseases, it is necessary to avoid planting potatoes in the same place as the previous year. It is advised to wait 3 years before replanting in the same plot.
White vinegar is a must for cleaning. It can be used for absolutely everything. If the container or bag is very dirty, soak it in water with vinegar. If it is new, soak your sponge in vinegar and scrub it. In both cases, rinse the jar or bag and dry it completely.
Bleach solution. You can do the same as with white vinegar, with bleach. Remember to protect your hands with gloves and be careful when handling this dangerous product.
